17
FS20X Fire and Flame Detectors
Before applying power to the detector
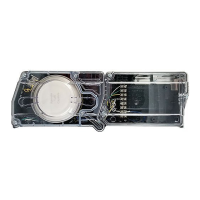
● Verify that all wire connections are correct (“Detector Connections” on page
24). Each wire must be stripped properly to the correct length, loose wire
strands must be removed, and securely screwed clockwise in the connector.
● When using conduit, ensure that a proper conduit seal (appropriate for the area
classification) has been installed and appropriate measures to prevent moisture
ingress have been taken.
● Consult Honeywell Analytics for dimensional information on flameproof joint
specifications.
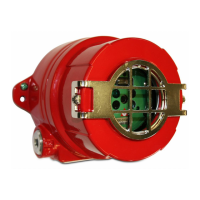
● Verify that the detector is securely mounted, its window is clean, and it has an
unobstructed view of the area of coverage (see “Installation Practices” on page
16).
● Shield the detector face from strong light sources when first energized.
The detector is now ready for use. On power-up, the fault relay will change status if
the default setting is used (see “FS20X Default Settings” on page 16).
SW1.2 POSITION OF SW1.2
ON
POSITION OF SW1.2
OFF
(This is Defaul Factory Position)
8 mA ENABLED DISABLED
12 mA ENABLED DISABLED
16 mA ENABLED DISABLED
 Loading...