Troubleshooting
2/03 10260A Series Actuators – Installation, Operations, and Maintenance 73
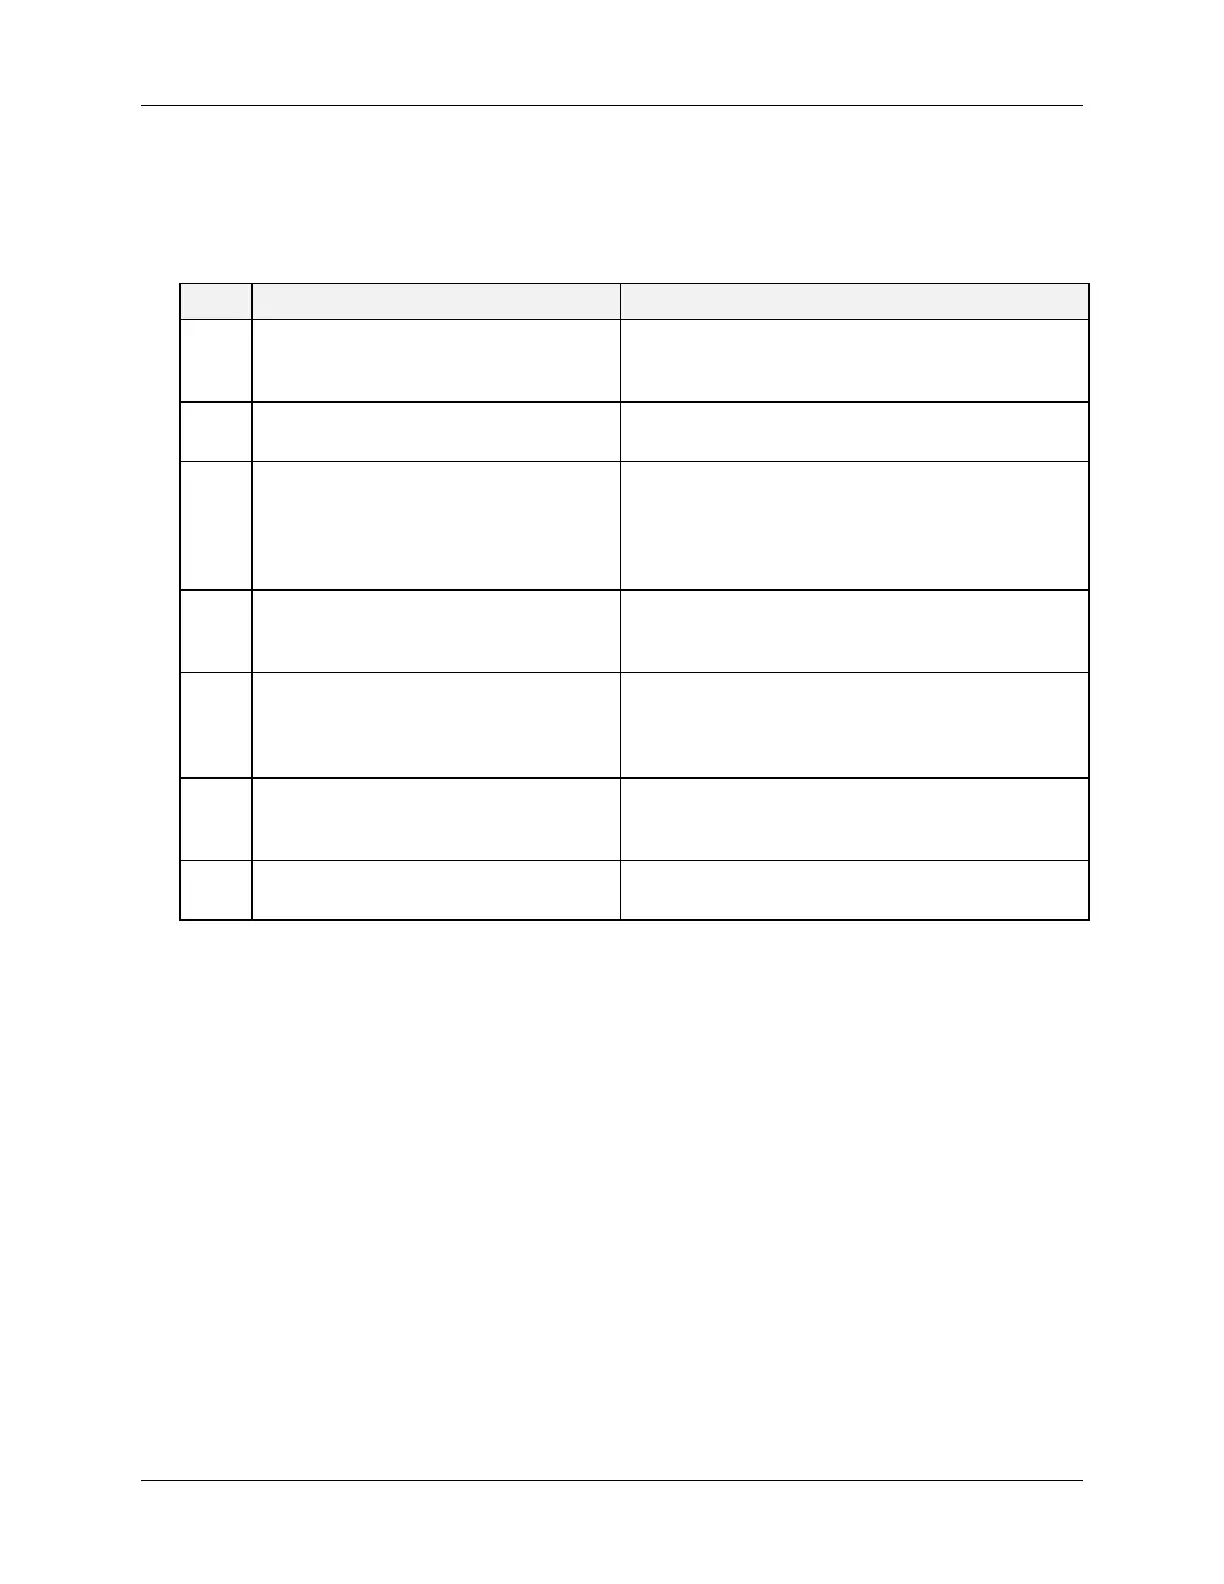
9.2.4 Actuator does not control to the proper position.
Table 9-5 explains how to troubleshoot the actuator for the correct control operation.
Table 9-5 Troubleshooting Control Action on Actuator
Step What to Do How To Do it or Where to Find the Instructions
1
Check the connectors to the Motor
Positioner Board.
Check to make sure connectors are securely
seated in headers on Motor Position board. See
Figure 4-5.
2
Check that cables are plugged into the
correct headers on NCS output board.
Check to make sure connector is seated in header
J4 on NCS board. See Figure 4-6.
3
Check NCS Output signal. On NCS Output Card, using a DVM, check that
the voltage across the pins of W11 (Figure 4-4) is
in the range of 0 to 1.25 Vdc. Check that voltage
is increasing for CCW operation and decreasing
for CW operation.
4
Check input signal. Using a DVM verify that the input signal at TB-30
to 31 (Figure 3-11) is in the range of 1 Vdc to 5
Vdc. If not check for the dropping resistor.
5
Check CW/CCW jumper Upon change of input signal, if actuator travels to
0 % or 100 % check to make sure CW/CCW
switch and jumper (Figure 4-6) are in correct
positions.
6
Check/Recalibrate Refer to Section 4 to recalibrate actuator. First
check Section 4.6 for proper positioning and
calibration of Non-contact Position Sensor.
7
Replace CAT/PAT Board. Refer to the replacement procedure in Section 8 –
Replacement/Recommended Spare Parts.
 Loading...