Getting Started
9
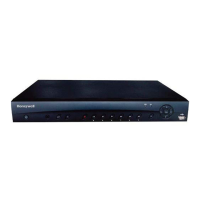
2. Getting Started
This chapter includes the following sections:
• Unpacking the DVR, page 9
• Connecting External Devices, page 9
• Starting and Shutting Down the DVR, page 12
• Setting Up the DVR with the Startup Wizard, page 20
Unpacking the DVR
Before you set up the DVR, make sure that you have received the following items:
• Quick Installation Guide
• Remote control (8- and 16-channel
•
•
• Terminal block connectors (×2)
• Power adapter and cable
• Screws (×4 for 4-channel; x10
• Serial ATA (SATA) cable(s) (×1 for
4-channel; x2 for 8-/16-channel
If any of the items listed above are missing or damaged, contact your Honeywell dealer
immediately.
Connecting External Devices
Step 1: Connect the cameras
Connect the coaxial cables from the cameras to the VIDEO IN connectors (1 Vp-p, 75 ohm).
Step 2: Connect the monitor
Connect a VGA cable (not supplied) to the VGA interface and/or an HDMI cable (not supplied)
to the HDMI interface. Connect the other end to a monitor (do not use a TV). Simultaneous VGA
and HDMI output is supported.
Step 3: Connect the mouse
Connect the supplied USB mouse to the USB 2.0 interface.
Step 4: Connect the Ethernet cable
Connect the supplied CAT5e Ethernet cable to the network port. Connect the other end to a
router on your network.
 Loading...