6
DONNING THE REVOLUTION WITH BELT
C. Donning the Revolution with belt
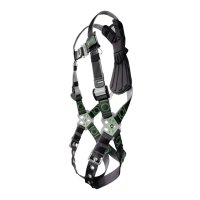
C. 1 Hold harness by back D-ring. Shake harness to allow all straps to fall in place.
C.2 If leg or chest straps are buckled, release straps and unbuckle at this time.
C.3 Slip straps over shoulder so D-ring is located in the middle of the back between shoulder blades.
C.4 Pull buckle portion of leg strap between legs and connect to opposite end of leg strap. Repeat with second
leg strap.
C.5 Attach integral work-positioning belt. (Connecting belt rst ensures PivotLink is in the proper location.)
C.6 Connect chest strap. The shoulder strap retainer (chest strap) must be positioned in the mid-chest area 15 to
20 cm below the trachea but not below the sternum. Fasten securely to keep shoulder straps taut. After all straps
have been buckled, tighten webbing so that harness ts snug, but allows full range of movement. To maximize
comfort, be sure to adjust the harness so that the PivotLink centers are in the right position:
C.7 Construction Harness With belt:The PivotLink centres are positioned at waist level
C.8 Utilities & Telecom Harness : The PivotLink centres are on the outside of the hips
C.9 To remove harness, reverse procedure.
C.1 C.2 C.3
C.4 C.5 C.6
C.7
C.8
 Loading...