3
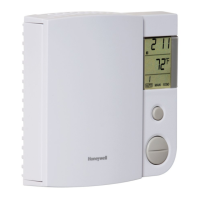
Wiring
Connect the thermostat wires to the heating system (load) and to the power
supply using solderless connectors for copper wires.
4-wire Installation2-wire Installation
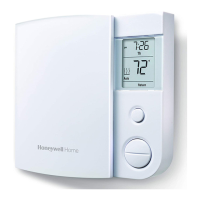
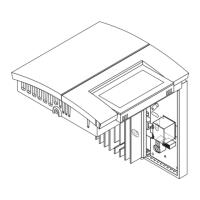
Mounting the thermostat
Loosen the screw underneath the thermostat and separate the
faceplate from the wallplate.
NOTE: The screw remains captive and cannot be completely
removed.
Mount the wallplate to the electrical box using the provided
screws. Insert the screws through the two left or the two right
mounting holes of the wallplate. Reinstall the faceplate onto the
WARNING
Keep the thermostat’s air vents clean and free
from obstructions.
wallplate and tighten the screw underneath the thermostat.
NOTE: If there is a protective film or sticker on the
thermostat’s screen, peel it off.
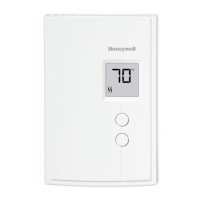
Apply power to the heating system. Verify the installation by
checking that the heating system can be turned On by raising
the setpoint using the Up button or turned Off by lowering the
setpoint using the Down button.
 Loading...