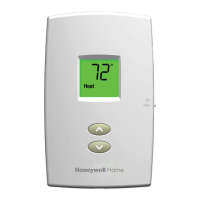
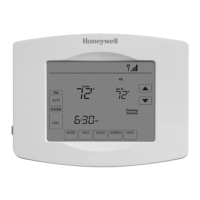
1. Check the thermostat powers up correctly
and the display is not blank.
2. Set initial thermostat options (boiler cycle rate,
minimum on-time) suitable for the homeowner
and the application.
3. Connect to the homeowner’s Wi-Fi network.
Note: Voice control will NOT work
without a Wi-Fi connection.
4. Register online for remote access.
5. Time and date will be set when Wi-Fi
is connected and weather will also be
available after the thermostat is registered.
If Wi-Fi is not connected, time and date
can be set under Menu > Date / Time.
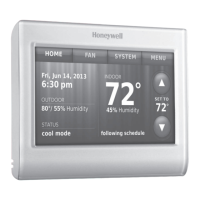
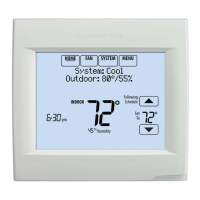
6. On the Home screen, change the set
temperature to 32°C and conrm the
following:
•Statusshows“HeatOn”
•Controlledequipment(egboiler)
switches on.
7. Turn the set temperature down to a normal
comfort setting.
8. Show homeowner how to set a schedule.
Menu > Create/Edit Schedule
9. Congure any other preferences to match
the lifestyle and needs of the homeowner.
10. Check the voice commands are working:
•Saythetriggerphrase“Hellothermostat”
and wait for response.
•Useanyoftheavailablevoicecommands.
A list of these can be found on the leaet
“Talking with your Thermostat” included.
11. Voice control, volume and sensitivity can
be adjusted under Menu > Voice Control.
Step 8: Commissioning the system
P27
 Loading...
