2
*Certain Models Only ** Certain models only, nozzles may vary according to model
For models equipped with Carpet & Floor nozzle*:
Secure the nozzle to the product. Press the oor type selector pedal on the nozzle [1d] to
select the ideal cleaning mode for the oor type.
Hard Floor – Brushes are lowered to protect the oor.
Carpet – Brushes are raised for the deepest clean.
For models equipped with Parquet nozzle*:
Secure the nozzle to the product in the same way as the carpet and floor nozzle. For
parquet oors and other delicate oors.
For models equipped with mini-turbo nozzle*:
Ideal to clean soft furnishings and for the pet hairs removal.
1. T
he mini-turbo nozzle can be connected directly to the exi tube handle or the lance. [2a]
2. If any blockages are encountered, please open the inspection cover on the
underside. [2b]
For models equipped with Grand Turbo Nozzle*:
Secure the nozzle to the product in the same way as the carpet and oor nozzle. Use the
turbo nozzle for deep cleaning on carpets.
Cord storage:
To store the cord after cleaning wrap the cord around the two cord hooks. [3]
USING YOUR CLEANER
Power switch:
1. To switch the cleaner on, rotate the power control knob. [4]
2. Rotate the knob to the correct power level.*
3. To switch off the product, rotate the same knob.
Using the exi tube with accessories:
The exi tube gives you the maximum exibility of usage. It can be used alone or combined
with the accessories, as desired. To vacuum with the supplied accessories:
1. Select accessory mode by rotating the carry handle/accessory mode activator to
accessory position until locked in position. [5]
2. Remove the exi tube from the location in the back of the cleaner handle. [6]
3. To use the extension tube: remove the tube from the door by unclipping from the
top. [7] Attach to the exitube. [8a]
4. To use the dusting brush: remove the tool from the location in the body of the
product by pressing the middle of the component [9a] then unclipping from the top.
[9b] Attach to the exitube. [8b]
5. To return to oor vacuuming push the oor mode button. [10]
IMPORTANT - When using cleaning tools, the cleaner must be kept in the upright
position, and held. It must not be used in the stand alone position without the user holding
the product. [11]
GB
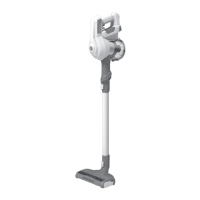
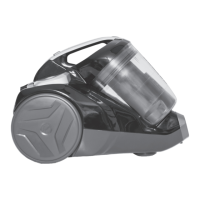
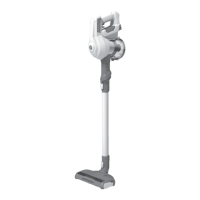
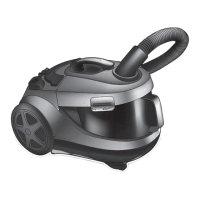
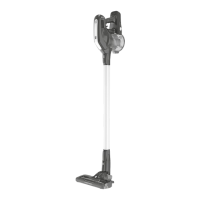
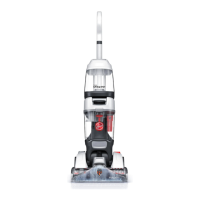
GETTING TO KNOW YOUR CLEANER
A. Stretch Flexi Tube
B. Integrated Flexi Tube Handle
C. Main Handle
D. Power Control Knob
E. Dusting Brush
F. Long Crevice Tube / Lance
G. Bag Door
H. Bag Door Release Button
I. Carpet and Floor nozzle (GP)**
I1. Carpet Nozzle (CA)**
I2. Hard Floor Nozzle (HF)**
I3. Hard Floor Nozzle (HF)**
J. Permanent Exhaust Filter
K. Carry Handle / Accessories Mode Activator
L. Floor Mode Button
M. Rotating Upper Cord Hook
N. Lower Cord Hook
O. Dust Bag With Hygienic Closure
P. Pre-Motor Filter
Q. Parquet Nozzle*
R. Miniturbo Nozzle*
S. Turbo Nozzle*
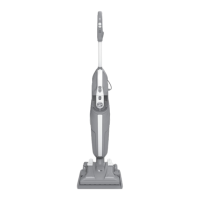
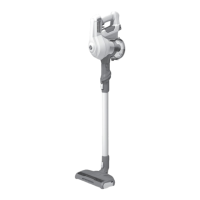
PREPARING YOUR CLEANER
1. Remove the accessories from the main packaging. You will nd the following:
• Cleaner body
• Cleaner handle
• Parquet nozzle*
• Carpet and Floor nozzle (GP)**
• Hard Floor Nozzle (HF)**
• Carpet Nozzle (CA)**
• Miniturbo Nozzle*
• Grand Turbo Nozzle*
2. Assemble the cleaner handle and x in position with the supplied screw. [1a,1b]
3. Secure the exi tube to the rear of the cleaner handle. [1b]
4. Secure the nozzle to the product. [1c]

 Loading...