3
Assembly
Continued ➜
6
Replace clean solution tank (upper tank) by positioning bottom
first. Press on tank handle to snap top of tank into place (Fig. 6).
TANK
HANDLE
7
Press cord into cord clip on back of handle.
Assemble stair/upholstery nozzle
Firmly push small end of solution tube onto nozzle as shown
(Fig. 8)
Pull cord tight. (Fig. 7)
(some models only)
8
9
Separate hose straps from each other.
Beginning at nozzle end of hose, fit “solution” tube into
groove of one of the loose straps. Stretch strap around
“suction” hose about 3 inches from nozzle. Button strap
(Fig. 9).
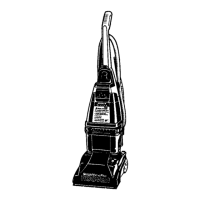
With cord hook to back of carpet cleaning ma-
chine, push upper handle down onto lower handle.
(Fig. 2).
2
CORD
HOOK
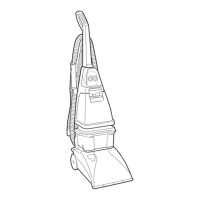
3
Push bolts into holes on front of handle (Fig. 3).
If bolts will not go through hole easily handle is not pushed
completely down.
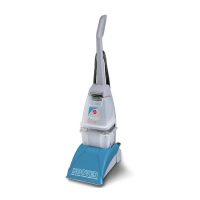
4
Place nuts in recessed areas on back of handle. Hold each
nut in place while tightening each bolt securely with a Phillips
screw driver (Fig. 4).
Only two nuts are needed on this model. The extra nut is not
required but has been provided for your convenience.
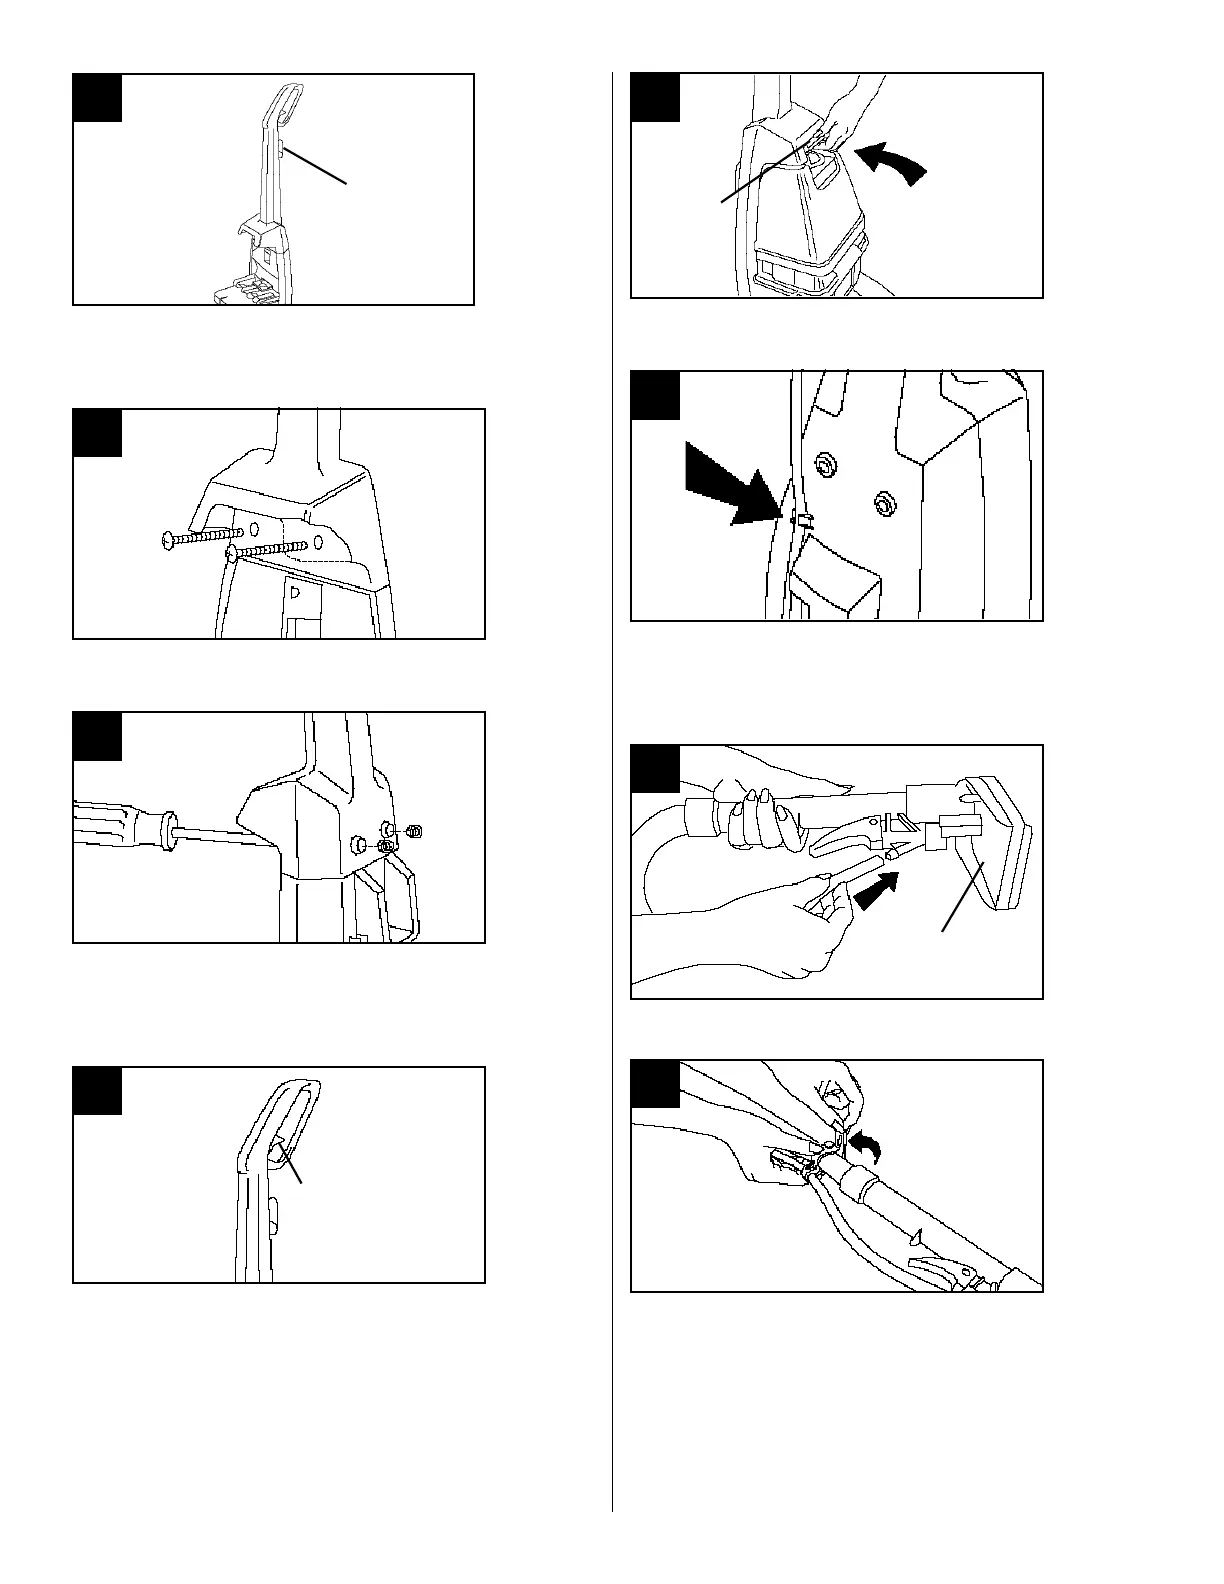
5
When handle sections are completely together, squeeze
trigger on upper handle to snap trigger rod in place. (Fig. 5)
SQUEEZE
TRIGGER
NOZZLE