6
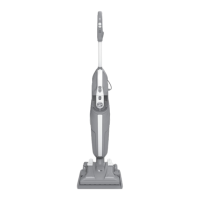
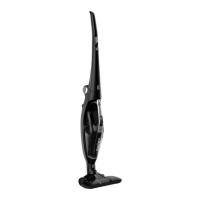
5. CHARGING THE BATTERY
In the unlikely event that your LED display shows
an error code E2, this indicates a fault with your
battery.
It is recommend that you immediately switch o
your product, remove the battery and contact
your local Hoover service centre.
When using your product, the real time charge
level of your battery is indicated on the LED
display located on the handheld.
When the remaining run time is reduced to 2 mins,
the LED display icons will begin to blink.
It is recommend you switch o your product and
recharge the battery.
Blinking
1 2 3
GB
The battery in your product does not come fully charged.
Before rst use, please charge it completely: this should take around 3.5 hours.
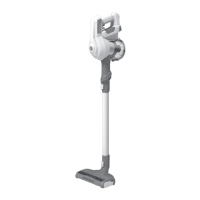
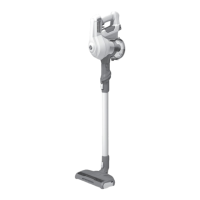
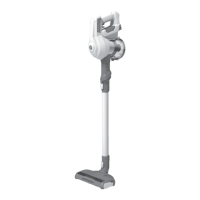
For your convenience, the battery can be charged in 3 dierent conditions.
1. With the product fully assembled in stick mode or located in the wall mount, the battery status will
be indicated on the LED display.
2. With the product In the handheld mode, the battery status will be indicated on the LED display.
3. With the battery removed from the product, the battery pack led will illuminate RED when charging
and turn WHITE when fully charged.
 Loading...