Do you have a question about the Hotpoint Aquarius WD420P and is the answer not in the manual?
Aquarius versions WD420 enter full production.
WD440P - General tactical model, same as WD420 but with 1400 rpm spin.
WD440G first produced.
Models WD420 & WD440 Change to Cold Fill and deletion of heater box fluff filter.
Model WD420 & WD440 Re-introduction of flushing valve style heater box assembly.
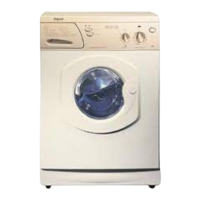
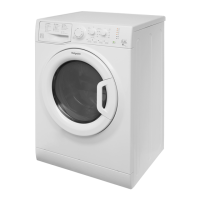
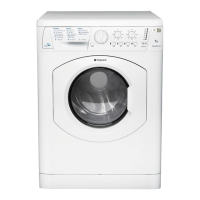
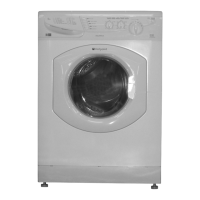
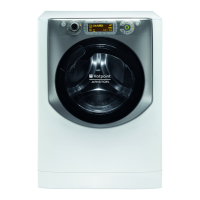
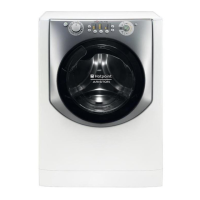
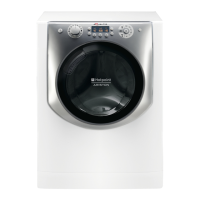
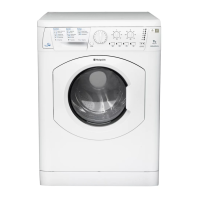
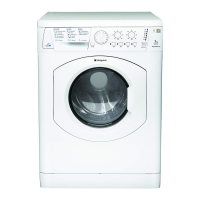
Covers models, colours, dimensions, weight, and country of origin.
Covers electrical supply, energy class, consumption, and water consumption.
Details wash load, spin speed, heaters, thermistors, and water supply pressure.
Covers control PCB, motors, pump, door lock, and torque settings.
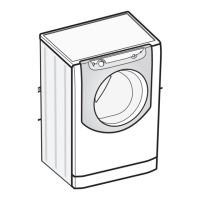
Procedure for unpacking the washing machine and checking for transport damage.
Procedure for removing the polystyrene base block from the machine.
Instructions for removing the two transit bolts and their spacers.
How to level the washing machine for stability and optimal operation.
Important warnings regarding water temperature, pressure, and connection types.
Instructions for connecting water supply for models from Date Code 40 onwards.
Guidance on using longer fill hoses or a cold fill adaptor.
Ensuring proper earthing, voltage compliance, and socket compatibility.
Recommendations for the washing machine's installation location and power supply.
Instructions for connecting the drainage hose to a standpipe.
Procedure for connecting the drainage hose to an under-sink waste system.
Information on obtaining and fitting a longer drainage hose.
Instructions for running the first wash cycle without laundry or detergent.
How to switch on the machine and select a wash programme.
Steps to stop, change, or cancel a running programme.
Explanation of the lights indicating programme progress.
Information about the door lock indicator and its function.
How to select and cancel options using buttons.
Setting the heat level for tumble drying.
Wash action changes to reduce creasing.
Option to suspend clothes in cold water at the end of the rinse.
Reduces programme time by up to a third.
Adds an additional rinse cycle to the programme.
Adjusting wash temperature or selecting 'No Heat'.
Selecting the required drying time for the appliance.
Details on Auto Half Load, Fabric Conditioner Dispensing, and Out of Balance Protection.
Explanation of how the condenser tumble drying system operates.
Steps for setting up and indications during the auto test procedure.
The step-by-step sequence of operations during the auto test.
Information about potential fault codes appearing at the start of a test.
Explanation of faults that do not generate specific error codes.
Details on diagnostic programmes and fault finding.
Explanation of LED indicators and their relation to error codes.
Table detailing error codes, LED patterns, and possible causes/actions.
Essential safety precautions before starting dismantling.
Procedure to remove the table top from the appliance.
Instructions for removing the lower rear access panel.
Steps to remove the dispenser drawer.
Procedure for removing the console panel and its wiring.
Steps to remove the console PCB and button assemblies.
Procedure for removing the pressure switch.
Instructions for removing the front panel.
Instructions for removing the door seal and its restraint.
Procedure for removing the door interlock mechanism.
Steps to disassemble the appliance door.
Procedure for removing the front panel.
Instructions for removing the door seal.
Procedure for removing and refitting the drive belt.
Steps to remove the appliance motor.
Procedure to remove the lower balance weight.
Steps to remove the top balance weight.
Procedure for removing the heater and thermistor.
Instructions for removing the drum pulley.
Procedure to remove the suspension damper.
Steps to remove the suspension spring.
Procedure to remove the dispenser.
Steps to remove the drain pump.
Procedure for removing and refitting the inner drum lifter.
Instructions for removing the heater box and drum assembly.
Procedure to remove the fan motor.
Steps to remove the heater element.
Procedure to remove the one shot cut-out.
Instructions for removing the drum assembly from the cabinet.
Procedure for separating the outer drum halves and removing inner drum.
Steps to remove cabinet components.
Procedure for removing the power/control module and EEProm.
Information on EVO 1 Eeproms, including types and identification.
Details on EVO 2 Eeproms, their manufacturing, and identification.
Guidance on the correct orientation for fitting Eeproms.
| Type | Washer Dryer |
|---|---|
| Loading type | Front Loading |
| Load Capacity (Drying) | 4 kg |
| Spin Speed | 1200 rpm |
| Dimensions (H x W x D) | 85 x 60 x 54 cm |
| Number of Programs | 16 |