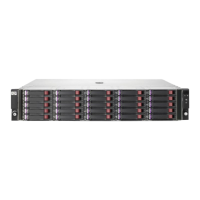
Figure 29 EVA8400 0C9D loop 3 connections
.
To make the loop 3 connections between the main rack and the expansion rack:
1. Unplug DP3-A on controller A from P1 (I/O-A) on disk enclosure 13 (S-13) and:
a. Connect DP3-A on controller A to P1 (I/O-A) on disk enclosure 21 (S-21).
b. Connect P1 (I/O-A) on disk enclosure 13 (S-13) to P2 (I/O-A) on disk enclosure 19 (S-19).
2. Complete the following verification steps:
a. Verify that the I/O module has been assigned an index number of the next highest enclosure
number.
b. In HP Command View EVA, verify that the newly added disk enclosure is listed under the
array hardware in the Navigation pane and the I/O module displays a good operational
status.
3. Unplug DP3-B on controller B from P1 (I/O-B) on disk enclosure 13 (S-13) and:
a. Connect DP3-B on controller B to P1 (I/O-B) on disk enclosure 21 (S-21).
b. Connect P1 (I/O-B) on disk enclosure 13 (S-13) to P2 (I/O-B) on disk enclosure 19 (S-19).
c. Repeat Step 2.
Figure 30 shows the completed cabling for an EVA8400 2C18D to 0C9D expansion (also referred
to as a 2C27D configuration).
Connecting the main rack to the expansion rack40

 Loading...


