Chapter 2
Installing and Configuring
Installing an Additional Power Supply
58
Step 2. Open the power supply release lever and slide the power supply into place.
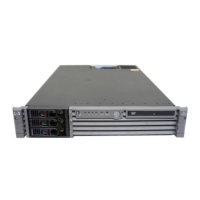
Figure 2-39 Replacing the Power Supply
Step 3. Push in on the power supply release lever to lock the retaining clip in place.
Step 4. Replace the front bezel. (See “Removing and Replacing Front Bezel” on page 34.)
Step 5. Verify that both power supply LEDs are lit.
Step 6. Use the PS command of the MP to verify power supply operation. (Refer to the Utilities chapter of
the HP 9000 rp3410 and HP 9000 rp3440 Operations Guide for additional information.)
Power Supply 1
Power Supply

 Loading...