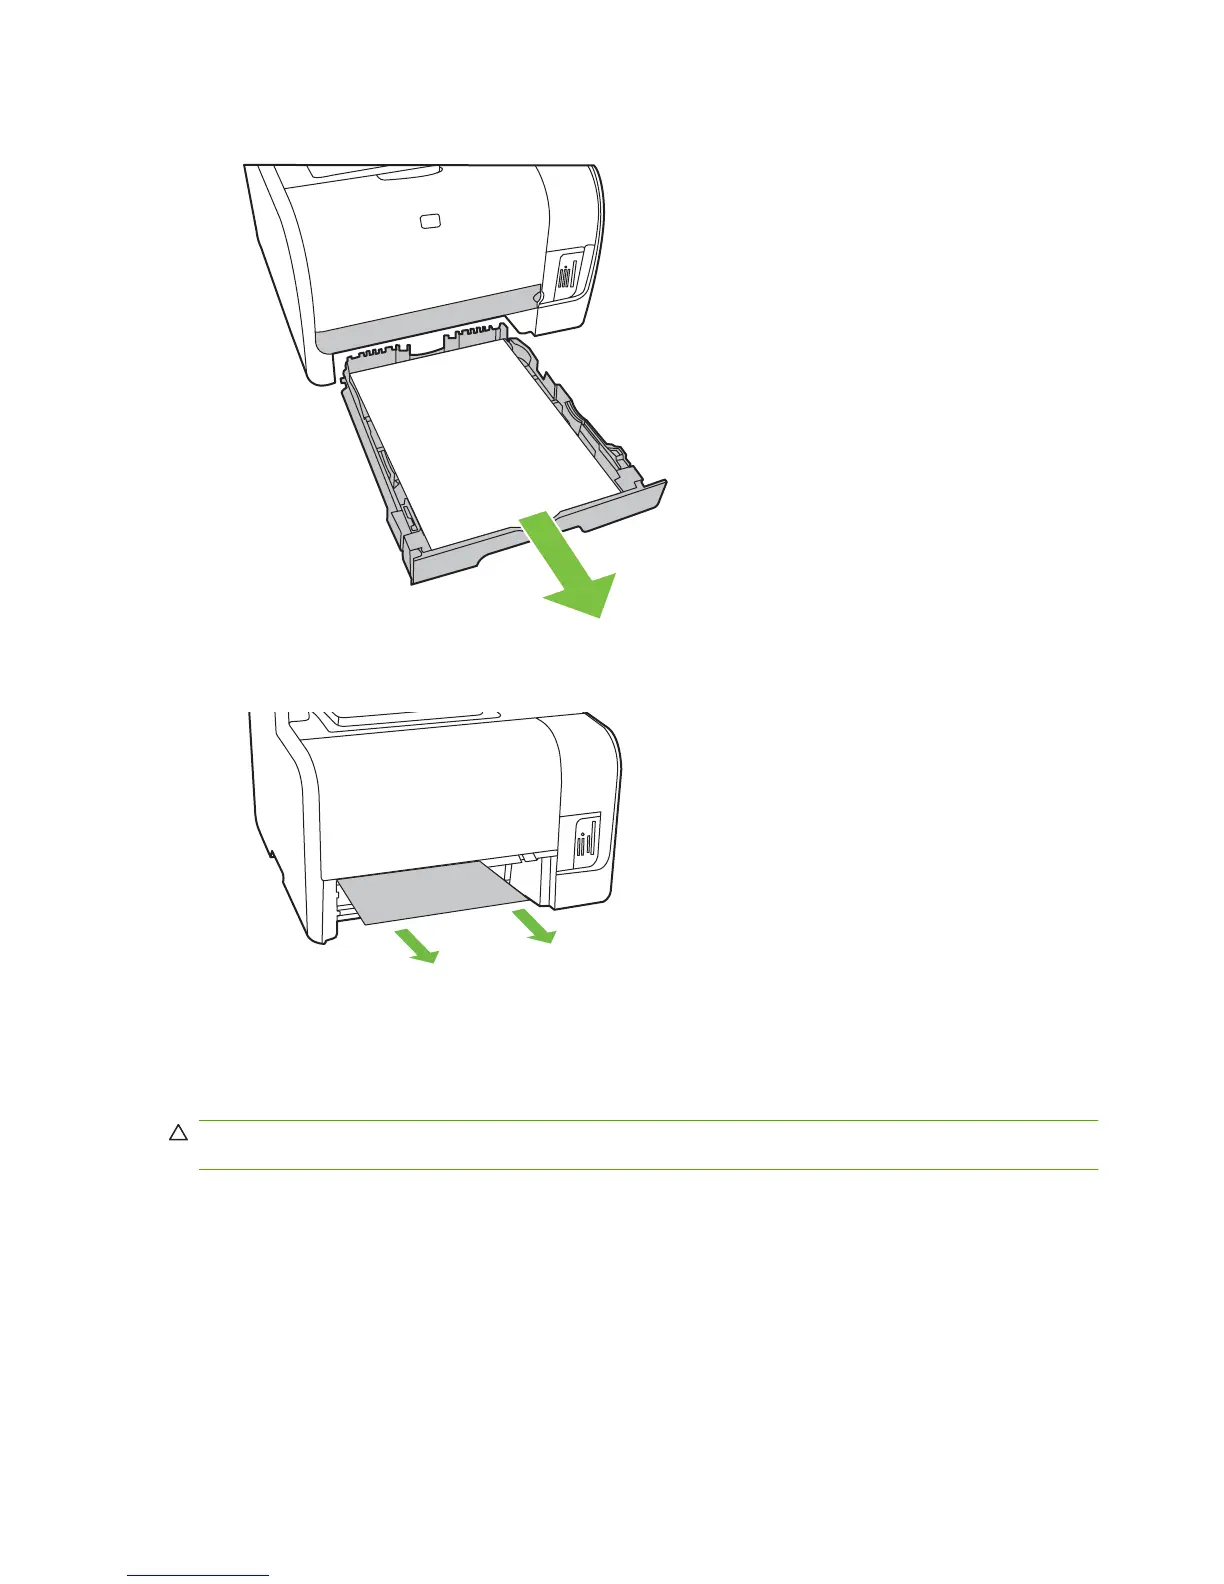
3. Remove Tray 1, and lift the jam access door to gain better access to any jammed media.
4. With both hands, grasp the side of the media that is most visible (this includes the middle), and
carefully pull it free from the product.
5. Reinsert Tray 1 and close the jam access door.
6. Close the rear output door.
Clear jams from the output-bin
CAUTION: Do not use sharp objects, such as tweezers or needle-nose pliers, to remove jams.
Damage caused by sharp objects will not be covered by the warranty.
With both hands, grasp the side of the media that is most visible (this includes the middle), and carefully
pull it free from the product.
222 Chapter 7 Problem solve ENWW
 Loading...