EL-MF877-00 Page 3
Template Revision A
c. Slide the cover off the power supply.
d. Using dikes, cut all cables connecting the PCA to the power supply.
e. From the bottom of the power supply, remove the three screws that secure the power supply PCA to the chassis
(see Figure 12).
f. Remove the power supply PCA from the power supply chassis.
g. Cut the small PCA from the large power supply PCA (see Figure 13).
h. Cut two capacitors from the PCA, as shown in Figure 13.
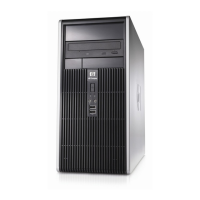
POWER SUPPLY 2:
a. Using dikes, cut the plastic clamp that secures the wires to the power supply cover (see Figure 14).
b. Using a phillips screwdriver, remove the six screws that secure the cover to the power supply chassis - all six screws
are on top (see Figure 15).
NOTE: You do not need to remove the screws from the fan guard or the power connector.
c. Lift the cover off the power supply.
d. Using dikes, cut all cables connecting the PCA to the power supply.
e. From the inside, remove the four screws that secure the power supply PCA to the chassis (see Figure 16).
f. Remove the PCA from the power supply chassis.
g. Cut the small PCA from the large power supply PCA (see Figure 16)
h. Cut four capacitors from the PCA, as shown in Figure 16.
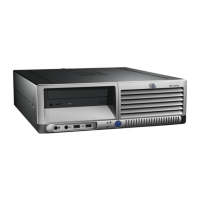
POWER SUPPLY 3:
a. Using dikes, cut the plastic clamp that secures the wires to the power supply cover (see Figure 17).
b. Using a phillips screwdriver, remove the four screws that secure the cover to the power supply chassis - two screws
on top, two screws on the bottom (see Figure 17 & 18).
NOTE: You do not need to remove the screws from the fan guard or the power connector.
c. Slide the cover off the power supply.
d. Using dikes, cut all cables connecting the PCA to the power supply.
e. From the outside, remove the four screws that secure the power supply PCA to the chassis (see Figure 19).
f. Remove the two screws that secure the PCA to the top of the power supply chassis (see Figure 20).
g. Remove the power supply PCA from the power supply chassis.
h. Cut seven capacitors from the PCA, as shown in Figure 21.
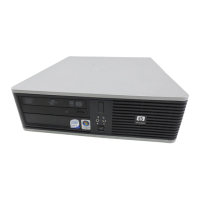
POWER SUPPLY 4:
a. Using dikes, cut the plastic clamp that secures the wires to the power supply cover (see Figure 22).
b. Using a phillips screwdriver, remove the six screws that secure the cover to the power supply chassis - all six screws
are on top (see Figure 23).
NOTE: You do not need to remove the screws from the fan guard or the power connector.
c. Slide the cover off the power supply.
d. Remove the two screws that secure the top PCA to the power supply (see Figure 24).
e. Using dikes, cut all cables connecting the PCA to the power supply.
f. From the outside, remove the four screws that secure the power supply PCA to the chassis (see Figure 25).
h. Remove the large PCA from the power supply chassis.
i. Cut six capacitors from the PCA, as shown in Figure 26.
POWER SUPPLY 5:
a. Using dikes, cut the plastic clamp that secures the wires to the power supply cover (see Figure 27).
b. Using a phillips screwdriver, remove the five screws that secure the cover to the power supply chassis - three
screws are on top, two are on the bottom (see Figure 28 & 29).
NOTE: You do not need to remove the screws from the fan guard or the power connector.
c. Slide the cover off the power supply.
d. Using dikes, cut all cables connecting the PCA to the power supply.
e. From the outside, remove the four screws that secure the power supply PCA to the chassis (see Figure 30).
f. Remove the large PCA from the power supply chassis.
g. Cut the small PCA from the large power supply PCA (see Figure 31)
h. Cut six capacitors from the PCA, as shown in Figure 31.
 Loading...