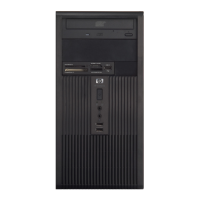
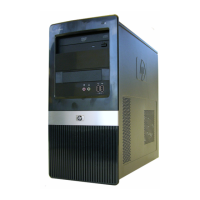
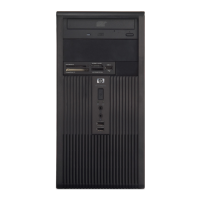
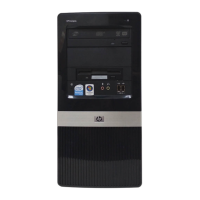
dx2810/dx2818 Illustrated Parts & Service Map, MT chassis 516944-003 page 2
Clearing CMOS
1. Turn off the computer and any external devices, and disconnect the power cord from the
power outlet.
2. Remove the chassis access panel.
3. Locate the jumper labeled E69.
4. Remove the blue CMOS jumper from pins 4 and 6 and put the jumper on pins 2 and 4. This
clears CMOS.
5. Put the jumper back on pins 4 and 6.
6. Replace the chassis access panel and reconnect the power cord.
Turn on the computer and allow it to start.
System Board
Standard and Optional Boards
System boards with thermal grease, alcohol pad, and CPU socket cover
1 System board 508460-001
Memory modules (PC2-6400, CL5)
2 512 MB (PC2-6400)
418952-001
2 1 GB (PC2-6400)
418951-001
2 2 GB (PC2-6400)
457624-001
Other boards
* Saffron WLAN 802.11b/g/n for use world-wide, includes bracket 498307-001
* 1394, PCI card, 3 port 441448-001
* Intel Gigabit NIC, includes bracket 490367-001
Intel Celeron Processors with alcohol pad and thermal grease
* E1400, 2.0 GHz, 512-KB L2 cache, dual core 491574-001
* E1200, 1.6 GHz, 512-KB L2 cache, dual core 468589-001
* 450, 2.2 GHz, 512-KB L2 cache 508256-001
* 440, 2.0 GHz, 512-KB L2 cache 449166-001
* 430, 1.8 GHz, 512_KB L2 cache 449165-001
Intel Pentium Dual Core Processors with alcohol pad and thermal grease
* E5200, 2.5 GHz, 2-MB L2 cache 503382-001
* E2220, 2.4 GHz, 2-MB L2 cache 480714-001
* E2200, 2.2 GHz, 1-MB L2 cache 465216-001
Intel Core 2 Quad Processors with alcohol pad and thermal grease
* Q9650, 3.00 GHz, 12-MB L2 cache 497734-001
* Q9550, 2.83 GHz, 12-MB L2 cache 465758-001
* Q9400, 2.66 GHz, 6-MB L2 cache 497733-001
* Q8200, 2.33 GHz, 4-MB L2 cache 503381-001
* Q6600, 2.4 GHz, 8-MB L2 cache 452451-001
Intel Core 2 Duo Processors with alcohol pad and thermal grease
* E8600, 3.33 GHz, 6-MB L2 cache 497732-001
* E8500, 3.16 GHz, 6-MB L2 cache 466170-001
* E8400, 3.00 GHz, 6-MB L2 cache 466169-001
* E7400, 2.80 GHz, 3-MB L2 cache 508255-001
* E7300, 2.66 GHz, 3-MB L2 cache 500134-001
* Not shown
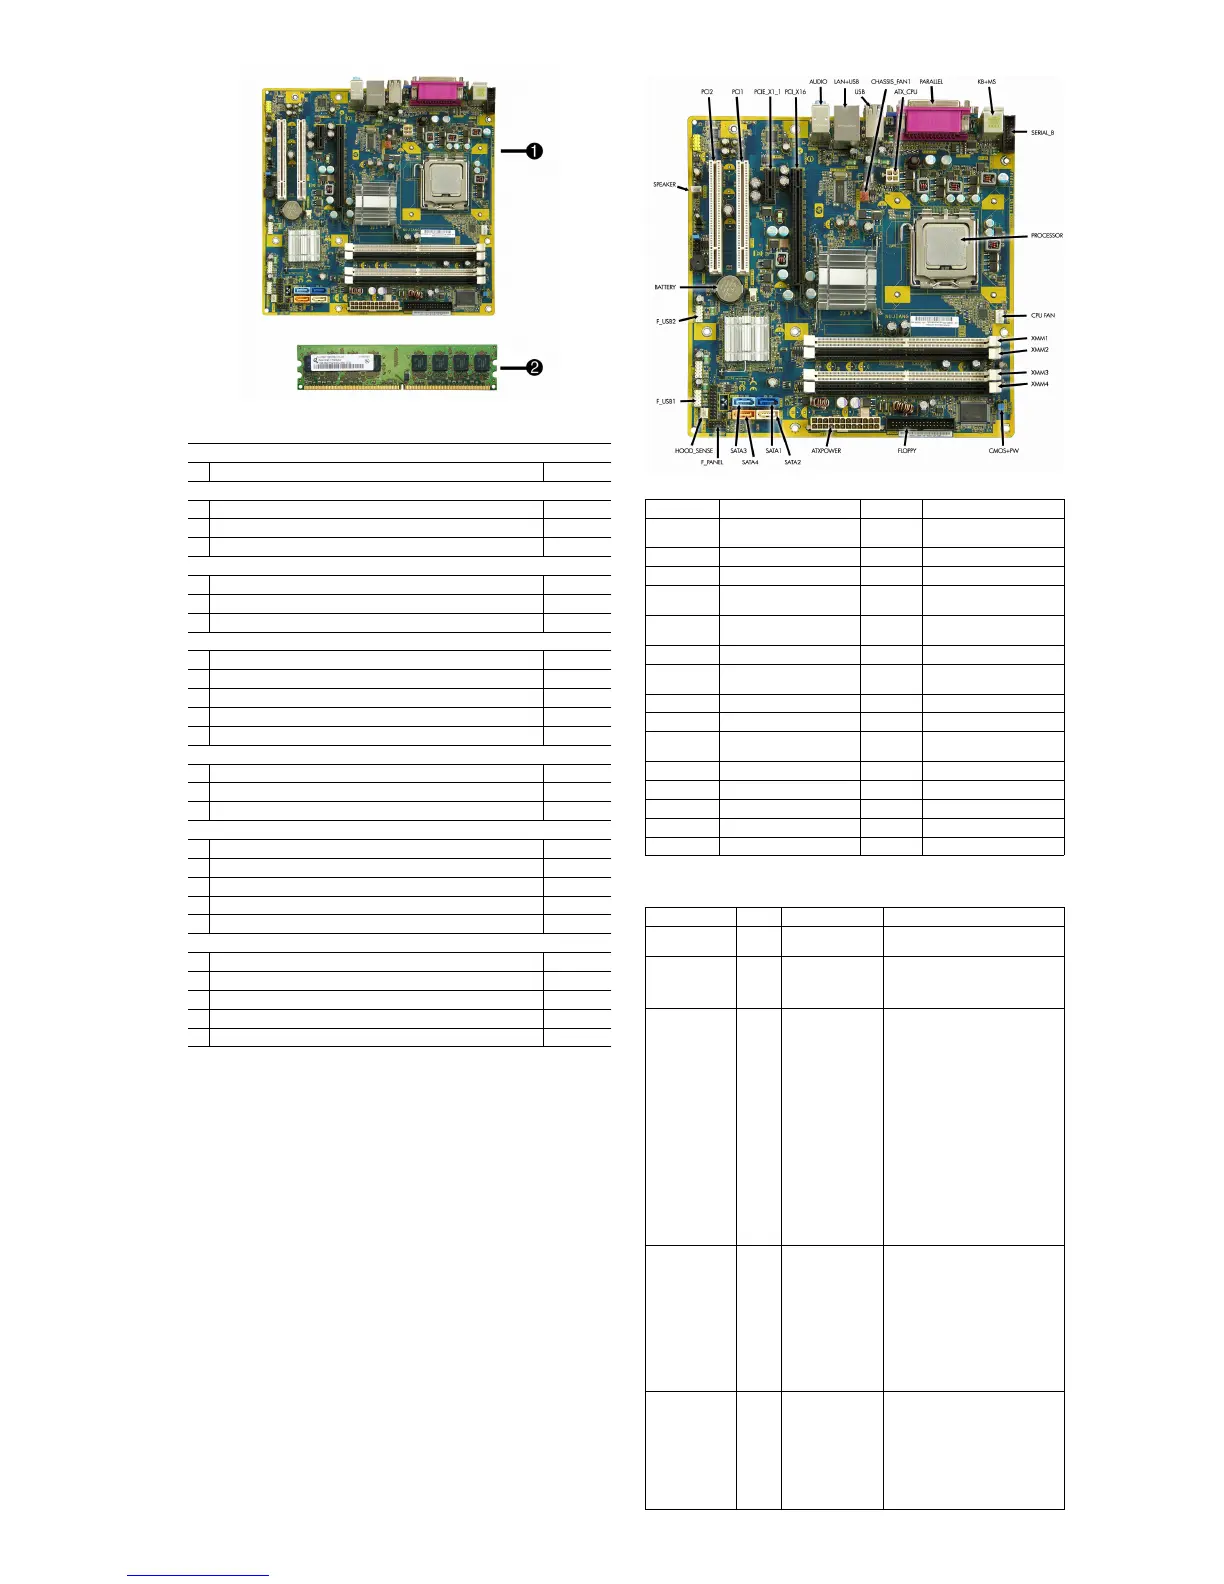
System Board Connectors and Jumpers (component location may vary)
PCI 2 PCI slot 2 XMM4 Memory socket 4
PCI 1 PCI slot 1 CMOS+
PW
CMOS/Password header
PCIE_X1_1 PCIe X1,slot 1 ATX_CPU CPU power connector
PCIE X16 PCIe X16, slot FLOPPY Diskette drive connector
AUDIO Double stack audio connector ATX-
POWER
Main power connector
LAN+USB Stacked RJ-45/Double USB
connectors
SATA1 Primary SATA hard drive
USB Quad stacked USB connector SATA2 2nd SATA optical drive
CHASSIS_
FAN1
Fan connector SATA3 3rdSATA hard drive
PARALLEL Parallel port connector SATA4 4th SATA optical drive
KB+MS Keyboard/mouse connectors F_PANEL Front panel connector
SERIAL_B 2nd serial port HOOD_
SENSE
Hood sensor connector
PROCESSOR Processor socket F_USB1 1st USB header
CPU FAN CPU/heatsink fan connector F_USB2 Media card reader connector
XMM1 Memory socket 1 BATTERY Battery slot
XMM2 Memory socket 2 SPEAKER Internal speaker connector
XMM3 Memory socket 3 F_AUDIO Front audio connector
Diagnostic Front Panel LEDs and Audible Codes
Activity Beeps Possible Cause Recommended Action
Green Power LED
on
None Computer on. None
Green Power LED
flashes every 2
secs
None Computer in Sus-
pend to RAM mode
or normal Suspend
mode.
None required. Press any key or move
the mouse to wake the computer.
CPU fan is weak
(RPM < 1000)
or not turning. A
warning
message is dis-
played along
with a series of
long beeps for
five seconds, then
the system
shuts down.
2 Processor thermal
protection activated:
A fan may be
blocked or
not turning.
OR
The heatsink/fan
assembly is not
properly
attached to the pro-
cessor.
1. Ensure the computer air vents are
not blocked and the processor col-
ling fan is running.
2. Open hood, press power button, and
see if the processor fan spins. If the
processor fan is not spinning, make
sure the fan's cable is plugged onto
the system board header. Ensure the
fan is fully/properly seated and
installed.
3. If fan is plugged in and seated prop-
erly, but is not spinning, then
replace processor fan.
4. Reseat processor heatsink and verify
that the fan assembly is properly
attached.
5. Contact an authorized reseller or
service provider.
Red Power LED
flashes five times,
once every sec-
ond, followed by
a two second
pause. Beeps stop
after fifth iteration
but LEDs con-
tinue until prob-
lem is solved.
5 Pre-video memory
error.
CAUTION: To avoid damage to the
DIMMs or the system board, you must
unplug the computer power cord
before attempting to reseat, install, or
remove a DIMM module.
1. Reseat DIMMs.
2. Replace DIMMs one at a time to
isolate the faulty module.
3. Replace third-party memory with
HP memory.
4. Replace the system board.
Red Power LED
flashes six times,
once every sec-
ond, followed by
a two second
pause. Beeps stop
after fifth iteration
but LEDs con-
tinue until prob-
lem is solved.
6 Pre-video graphics
error.
For systems with a graphics card:
1. Reseat the graphics card.
2. Replace the graphics card.
3. Replace the system board.
For systems with integrated graphics,
replace the system board.
 Loading...