Hardware options installation 48
10.
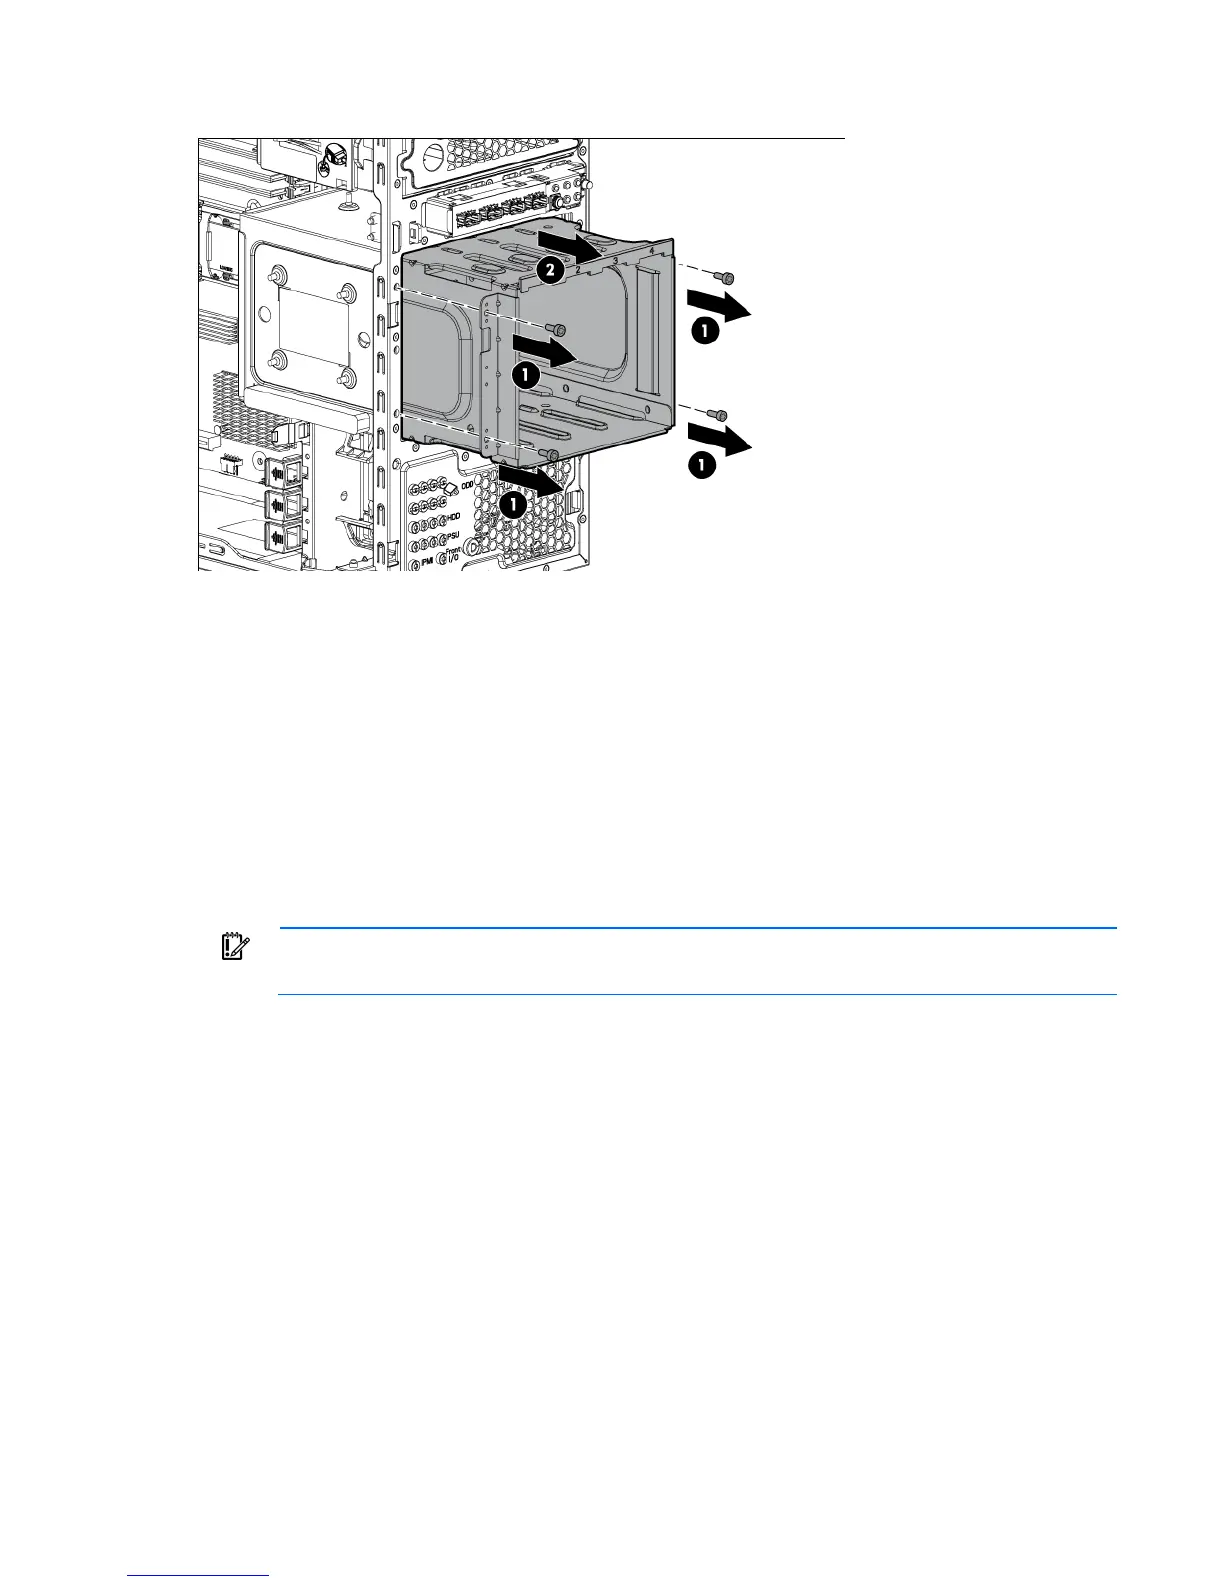
Remove the four screws, and then loosen the drive cage.
11. Route and connect the redundant power supply cables to the system board ("Four LFF hard drive
hot-plug, redundant power cabling" on page 62).
12. Insert the four screws to tighten the drive cage.
13. Install any device originally in the upper media drive bay.
14. Install the access panel ("Installing the access panel" on page 21).
15. Install the front bezel ("Installing the front bezel" on page 20).
16. Power on the server ("Power up the server" on page 19, "Powering up and configuring the server" on
page 29).
Installing a storage controller
IMPORTANT: For additional installation and configuration information, refer to the
documentation that ships with the option.
1. Power down the server (on page 19).
2. Remove the bezel ("Removing the front bezel" on page 19).
3. Remove the access panel ("Removing the access panel" on page 20).
4. Remove the hard drive cables.
5. Install the storage controller into slot 1.
For more information, see the documentation that ships with the option.
6. Connect the storage controller cable to the controller and to the hard drive.
For server-specific instructions, see the server installation sheet and the documentation that ships with the
storage controller.
7. Install the access panel ("Installing the access panel" on page 21).
8. Install the bezel ("Installing the front bezel" on page 20).
9. Power up the server (on page 19, "Powering up and configuring the server" on page 29).