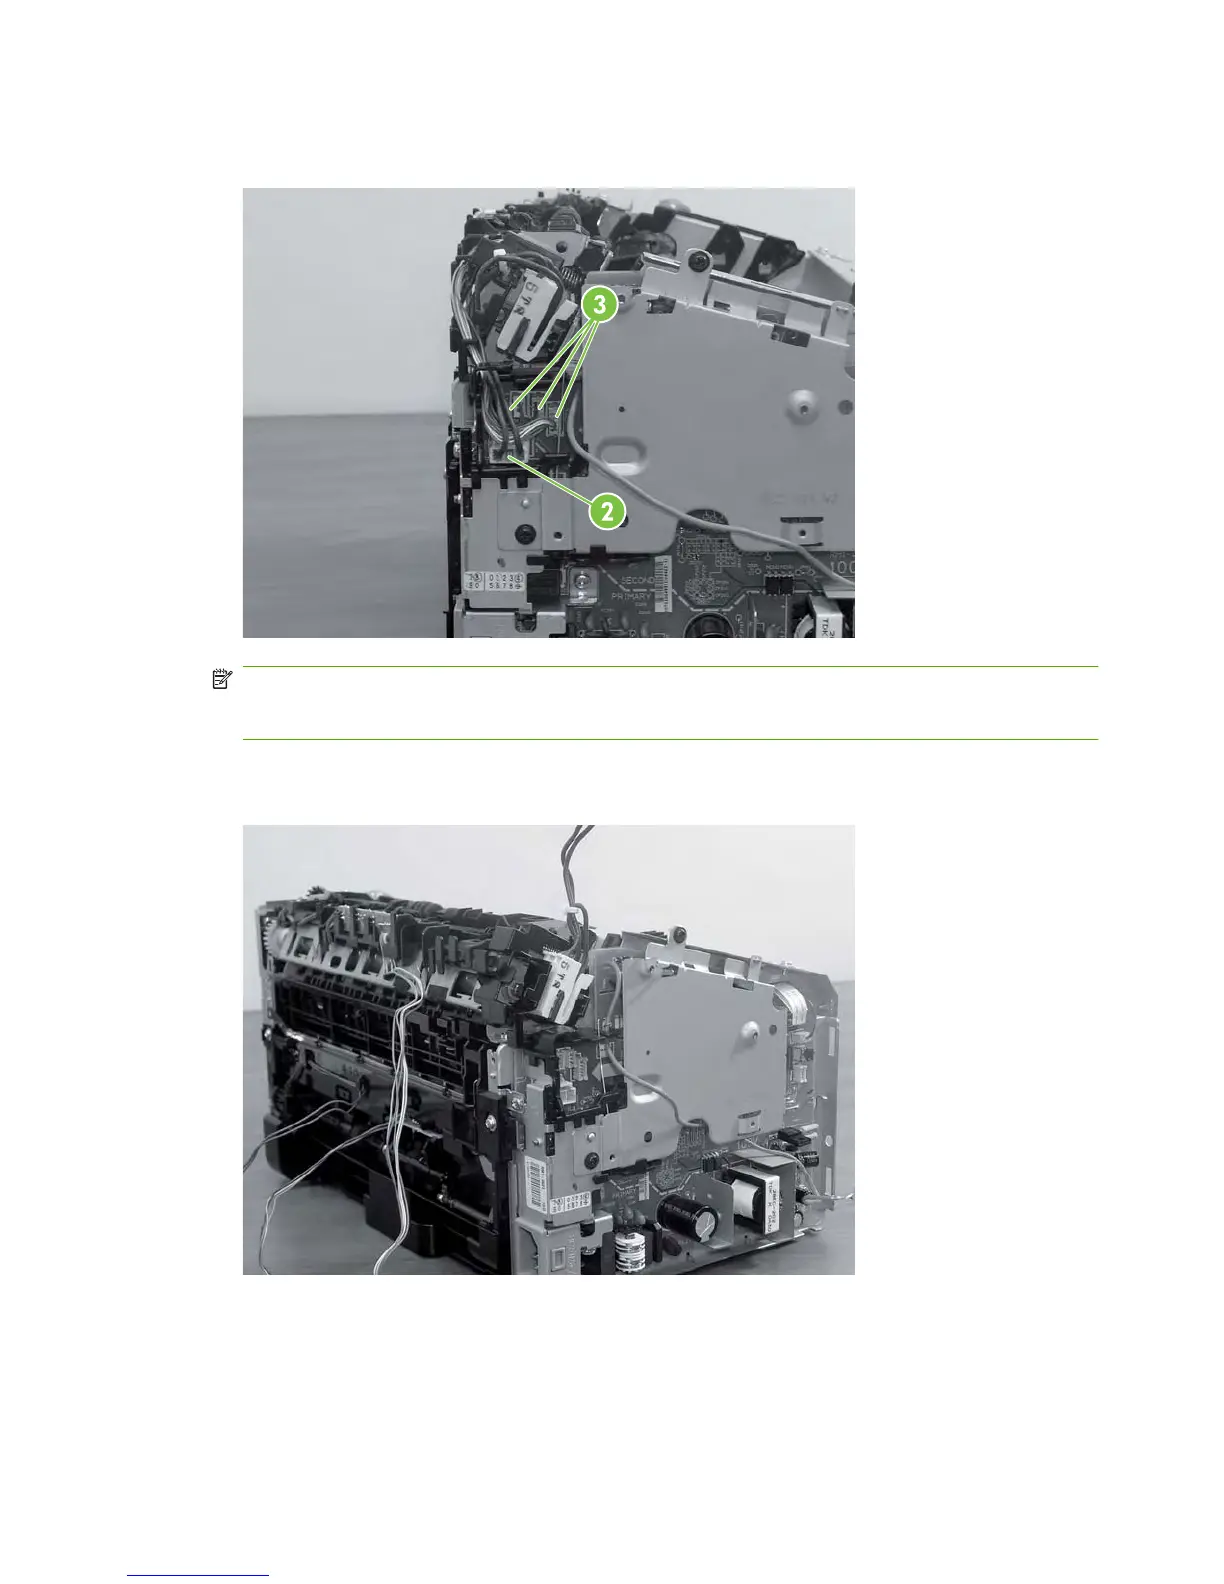
7. Unplug the power connector (callout 2). Unplug the remaining three connectors (callout 3).
Figure 4-13 Remove fuser (2 of 6)
NOTE: When removing the thin two-wire connector on the left, use a small flat-blade screwdriver
to flex out the left side of the cable socket so that the cable comes free without damaging the cable
or the socket.
8. Unthread the wires from the retaining clips in the rear of the device.
Figure 4-14 Remove fuser (3 of 6)
48 Chapter 4 Removal and replacement ENWW
 Loading...