10 Upgrading and Servicing Guide
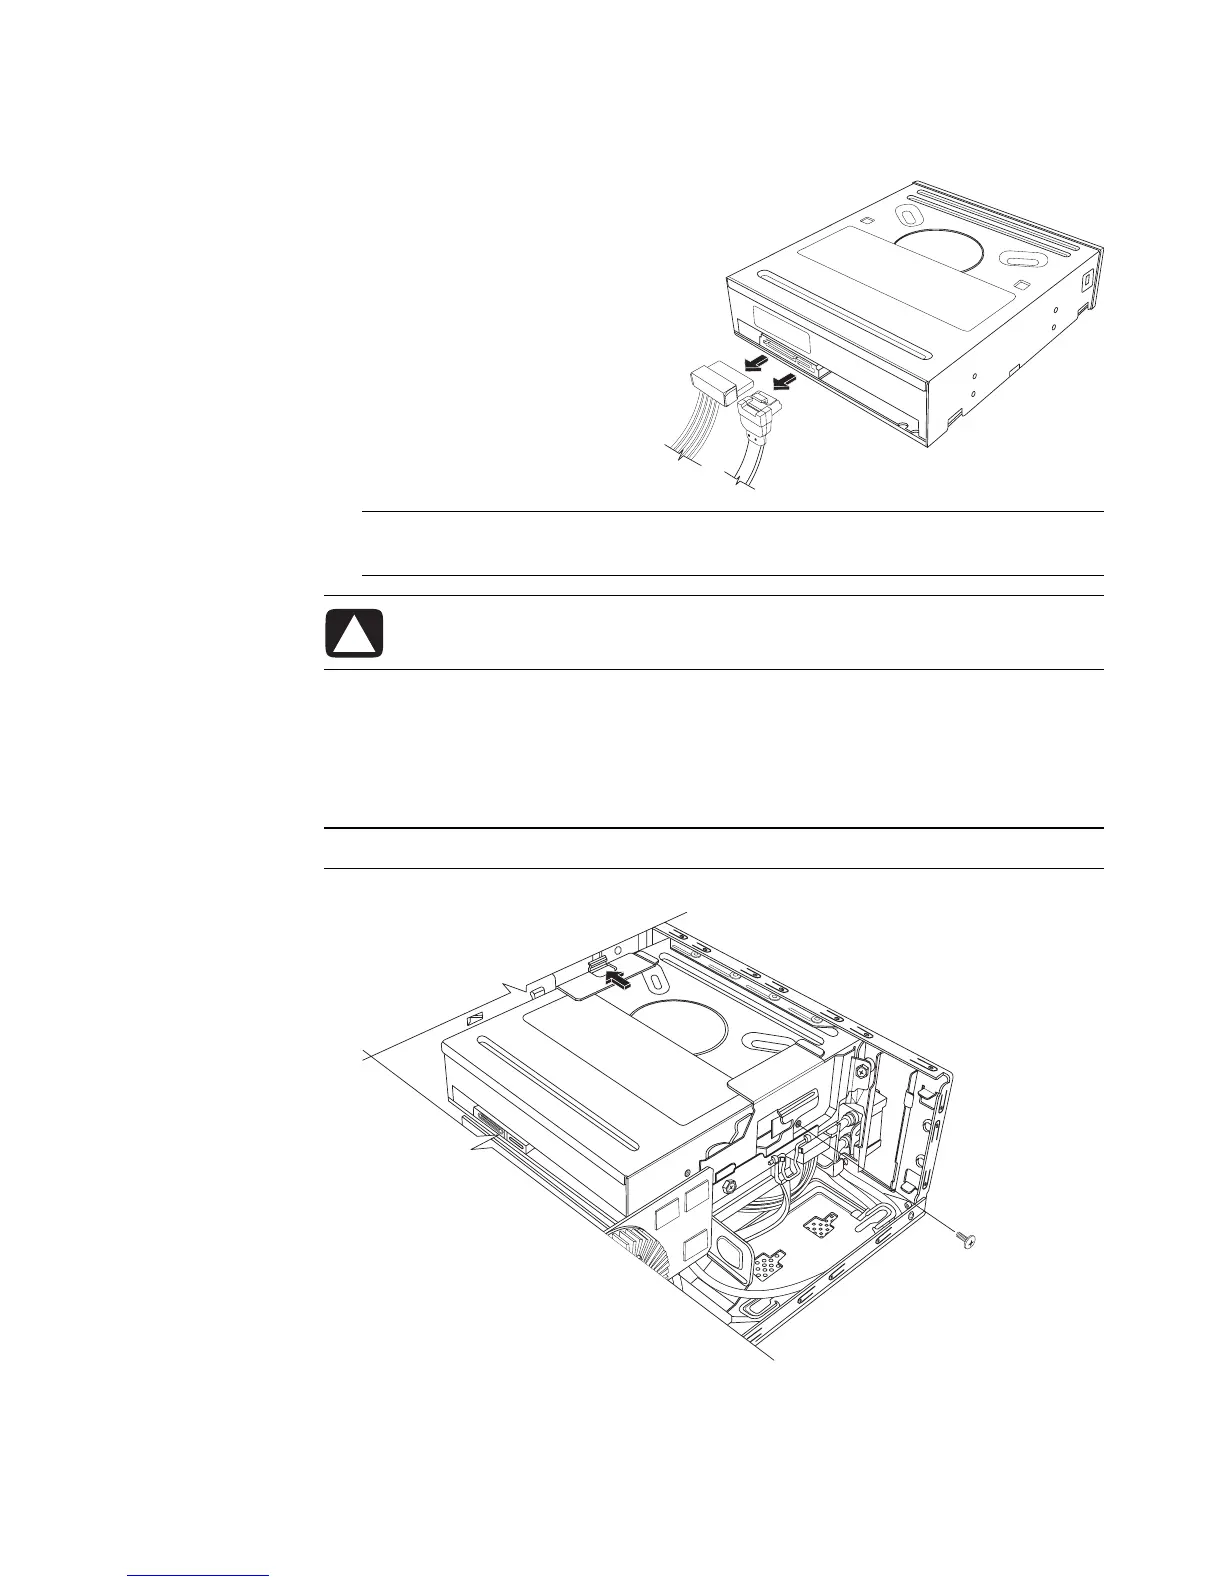
4 Make a note of each cable and
plug orientation attached to the
back of the optical disc drive
before removing the cables.
5 Disconnect the power cable
and then the data cable from
the back of the optical disc
drive. Pull the tab on the data
cable. Use a gentle rocking
motion on the power cable.
6 Disconnect the sound cable, if present.
7 Remove the screw from the optical disc drive side.
8 Pull the latch away from the drive, and push the drive through the front of the
computer.
NOTE: The SATA data cable may include a latch. Press the latch, and pull the plug to
remove the data cable from the drive.
CAUTION: Pull the connector by the handle only.
IMPORTANT: Do not tilt the drive during removal.
 Loading...