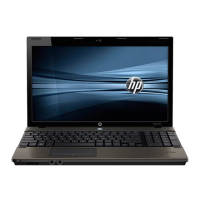
Remove the system board:
1. Position the base enclosure, with the front toward you.
2. Lift the power connector (1) from the retention clips in the base enclosure and remove the power
cable (2) from the routing clips.
3. Remove the battery connector board (1).
4. Remove the two Phillips PM2.5×3.0 screws (2) that secure the optical drive connector board to the
base enclosure.
5. Remove the Phillips PM2.5×3.0 screw (3) that secures the system board to the base enclosure.
Component replacement procedures 81

 Loading...