3.2 Optional Graphic. If the disassembly process is complex, insert a graphic illustration below to identify the items
contained in the product that require selective treatment (with descriptions and arrows identifying locations).
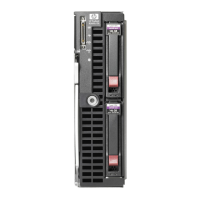
Attachment 1 – Removing Rear Chassis Assembly
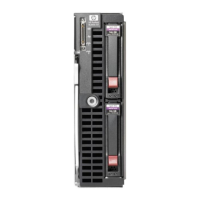
Attachment 2 – Latches on the side of the Rear Chassis Assembly
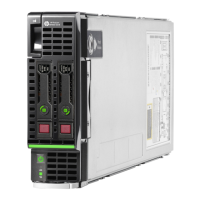
Attachment 3 – Removing the Air Baffling Mask
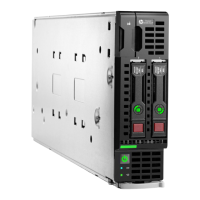
Attachment 4 -- Removing the Midplane Assembly
Attachment 5 – Removing the Fan Board PCBs
Attachment 6 – Removing the Power Board PCB
Attachment 7 – Locating the LCD Transition Board PCB
Attachment 8 – Removing the LCD Module and the LCD cable panels
Attachment 9 – Removing the LCD Transition Board Panel
Attachment 10 – Removing the LCD Paddle board
EL-MF877-00 Page 3
Template Revision A

 Loading...