Removal and replacement procedures 58
b.
Finish the installation by completely tightening the screws in the same sequence.
7. Install the air baffle.
8. Install the access panel.
9. Do one of the following:
o Slide the server into the rack.
o Install the server into the rack.
10. Connect each power cord to the server.
11. Connect each power cord to the power source.
12. Press the Power On/Standby button.
The server exits standby mode and applies full power to the system. The system power LED
changes from amber to green.
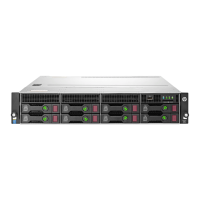
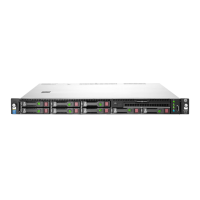
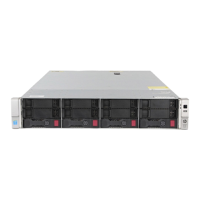
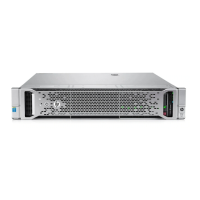
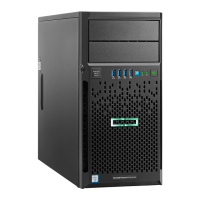
Expansion board
WARNING:
To reduce the risk of personal injury from hot surfaces, allow the drives and the
internal system components to cool before touching them.
CAUTION: To prevent damage to electrical components, take the appropriate anti-static
precautions before beginning any installation, removal, or replacement procedure. Improper
grounding can cause electrostatic discharge.
CAUTION: To prevent improper cooling and thermal damage, do not operate the server
unless all expansion slots have either an expansion slot cover or an expansion board installed.
To remove the component:
1. Power down the server (on page 27).
2. Remove all power:
a. Disconnect each power cord from the power source.
b. Disconnect each power cord from the server.
3. Do one of the following:
o Extend the server from the rack (on page 27).
 Loading...