Removal and replacement procedures 69
12.
If installed, remove the processor blank.
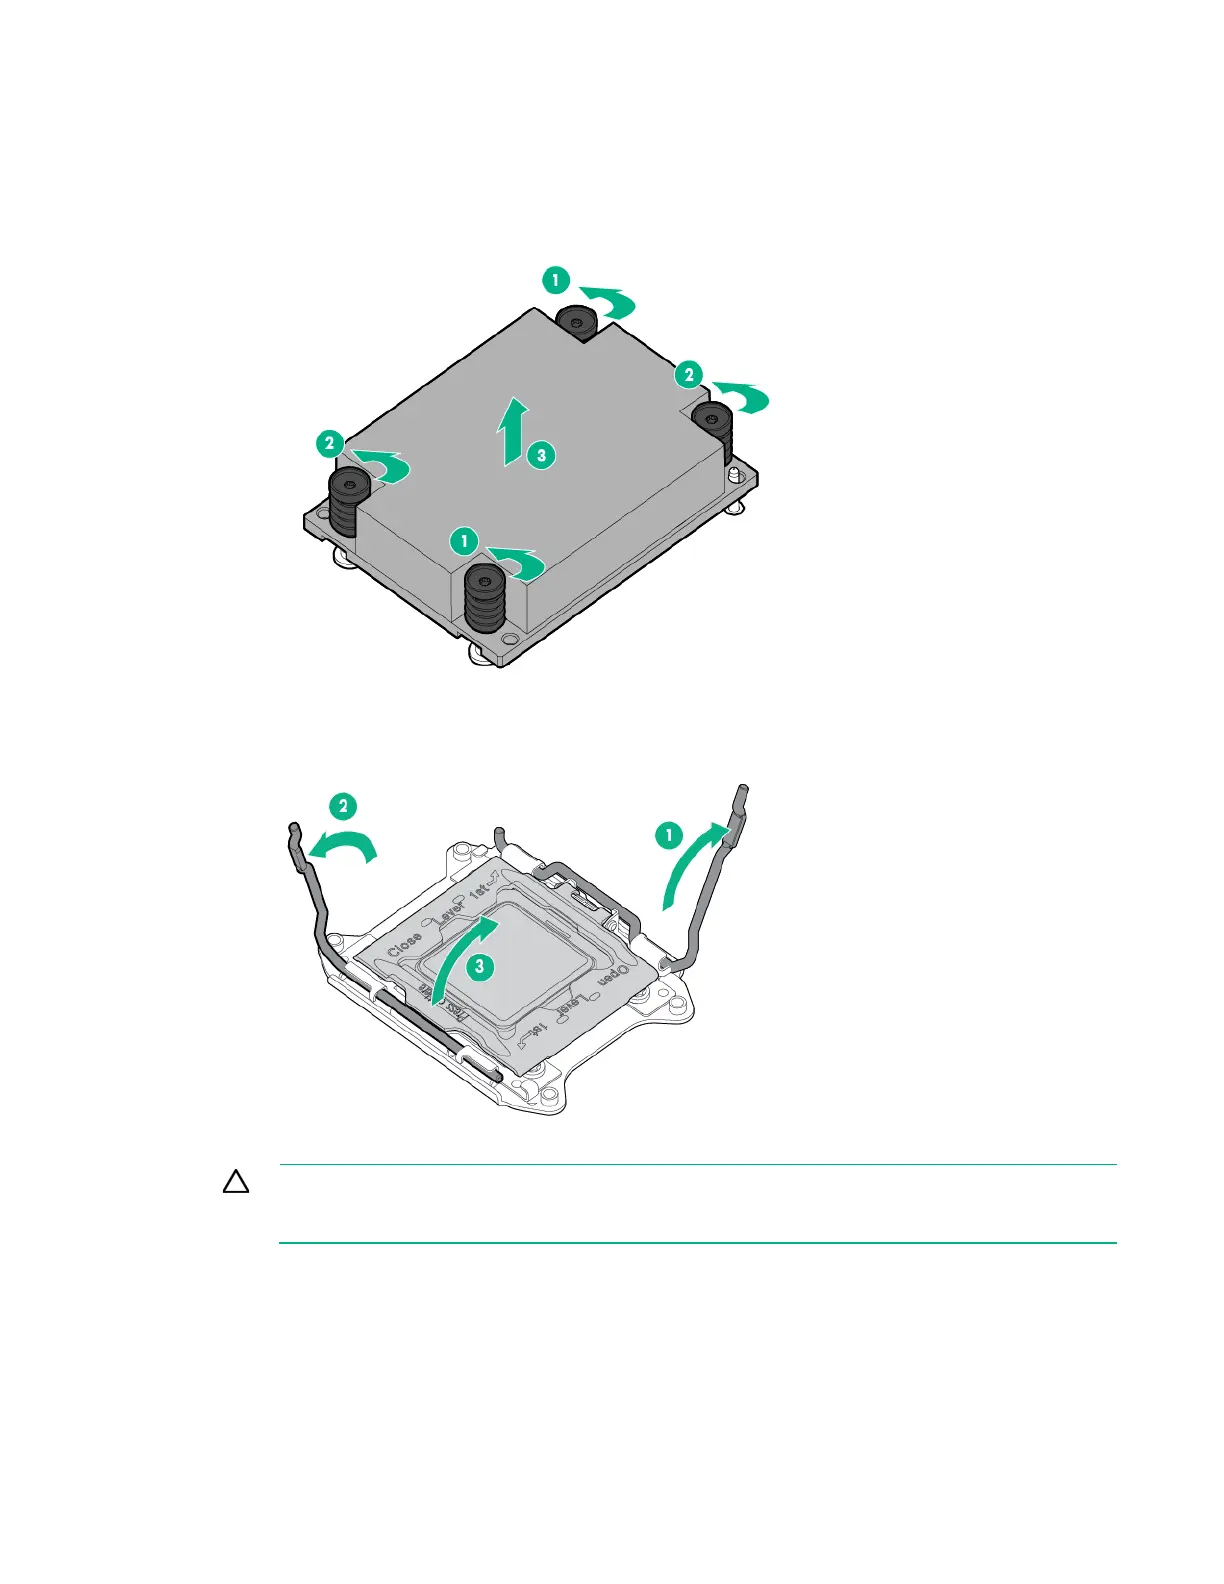
13. Remove the heatsink:
a. Loosen one pair of diagonally opposite screws halfway, and then loosen the other pair of screws.
b. Completely loosen all screws in the same sequence.
c. Remove the heatsink from the processor backplate.
14. Open each of the processor locking levers in the order indicated, and then open the processor
retaining bracket.
CAUTION: THE PINS ON THE SYSTEM BOARD ARE VERY FRAGILE AND EASILY
DAMAGED. To avoid damage to the system board, do not touch the processor or the
processor socket contacts.
 Loading...