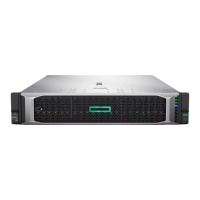
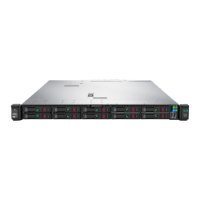
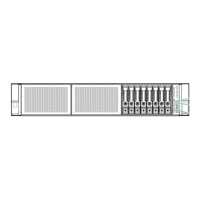
Type-a controllers install in the type-a smart array connector.
• Type-p controllers
Type-p controllers install in a PCIe expansion slot
Installing a type-p controller
WARNING: To reduce the risk of personal injury, electric shock, or damage to the equipment, remove
power from the server by removing the power cord. The front panel Power On/Standby button does not
shut off system power. Portions of the power supply and some internal circuitry remain active until AC
power is removed.
CAUTION: To prevent improper cooling and thermal damage, do not operate the server unless all PCI
slots have either an expansion slot cover or an expansion board installed.
CAUTION: Hewlett Packard Enterprise recommends performing a backup of all server data before
installing or removing a controller or adapter.
Before installing the controller, observe the following requirements:
• To ensure that cables are connected correctly, observe the labels on the cable and component connectors.
• Be sure that you have the latest firmware for the controllers, HBAs, and the expander card. To download
the latest firmware, see the Hewlett Packard Enterprise website (
http://www.hpe.com/support/hpesc).
Prerequisites
Before you perform this procedure, make sure that you have the following items available:
The components included with the hardware option kit
Procedure
1. Powering down the server on page 53.
2. Remove all power:
a. Disconnect each power cord from the power source.
b. Disconnect each power cord from the server.
3. Do one of the following:
• Extend the server from the rack (Extend the server from the rack on page 53).
• Remove the server from the rack (Removing the server from the rack on page 54).
4. Remove the access panel (Removing the access panel on page 55).
CAUTION: Do not operate the server for long periods with the access panel open or removed.
Operating the server in this manner results in improper airflow and improper cooling that can lead
to thermal damage.
5. Remove the PCIe riser cage (Removing the PCIe riser cages on page 59).
Installing hardware options 115

 Loading...
