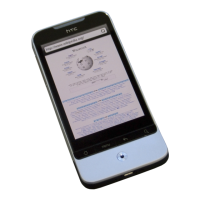
Figure 2
• Now you can carefully pry the screen assembly and motherboard from the back housing. It may take some time to
work the assembly out of place.
• Once the screen assembly and motherboard have been removed, remove the 2 torx T6 screws located in figure
3. You can now remove the lower assembly.
• Remove the plastic housing on the back side of the assembly by using a safe open pry tool to carefully unclip the
housing.
Figure 3
• The motherboard will now be exposed. Use a safe open pry tool to release the 3 connectors located on the
motherboard. If the connection is a "jaw" connector, simply lift the lip and carefully slide out the cable.
• Once the screen is completely released, you can take it out of the assembly.

 Loading...