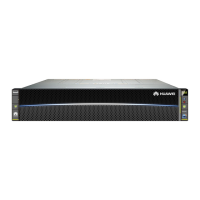
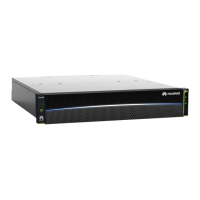
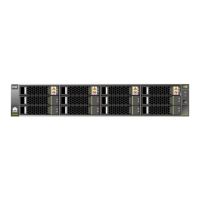
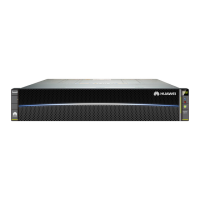
Figure 6-111 Indicators on an expansion module
1 Alarm indicator of
the expansion
module
2 Power indicator of
the expansion
module
Step 9 Conrm the replacement.
1. Perform a post-replacement inspection.
After the parts replacement, return to the SmartKit page and click Replaced.
Then complete the parts check after the replacement as prompted.
2. Check system status.
Choose Home > Storage > Routine Maintenance > Health Check to check
the system status again. If any inspection item fails, rectify the fault based on
the suggestions in the inspection report.
3. After the preceding procedure is complete, check services on the host for
storage-related errors.
----End
Follow-up Procedure
After the expansion module is replaced, label it to facilitate subsequent
operations.
6.6.2 Replacing an Expansion Module (High-Density Disk
Enclosure)
This section describes how to replace an expansion module.
Impact on the System
During the interval between removing an expansion module and installing the
spare part, system performance is compromised. Therefore, replace an expansion
module during
o-peak hours.
Prerequisites
● A spare part is on hand.
● The expansion module that you want to replace has been located.
OceanStor V5 Series
Parts Replacement 6 Replacing CRUs
Issue 15 (2019-12-30) Copyright © Huawei Technologies Co., Ltd. 117
 Loading...
