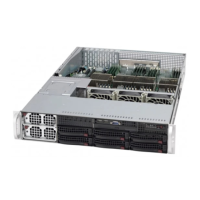
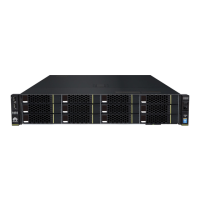
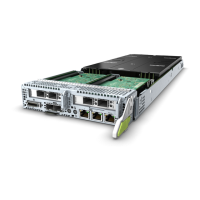
Figure 4-2 Removing an RH8100 V3
Step 5 Loosen the captive screws on the RH8100 V3 panel using a screwdriver. See step
(2) in Figure 4-2.
Step 6 Pull the RH8100 V3 out of the cabinet along the guide rails. See step (3) in Figure
4-2.
Step 7 Place the removed RH8100 V3 onto an ESD platform. Then install a new chassis or
relocate the removed RH8100 V3.
----End
RH8100 V3 Server
User Guide 4 Removing the RH8100 V3
Issue 30 (2019-12-19) Copyright © Huawei Technologies Co., Ltd. 106

 Loading...


