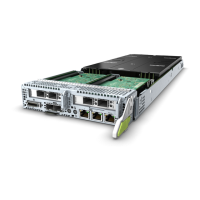
Figure 5-11 Installing a CPU
Figure 5-12 Incorrectly placed CPU
Step 8 Close the load plate to secure the CPU. See step (2) in Figure 5-11.
Step 9 Lower the securing rod near the or label. See step (3) in Figure
5-11.
Step 10 Lower the securing rod near the
or label. See step (4) in Figure
5-11.
Step 11 Align the heat sink with the fastening studs on the CPU socket, and place the heat
sink on the CPU. See step (1) in Figure 5-13.
RH8100 V3 Server
User Guide 5 Removing and Installing Parts of the RH8100 V3
Issue 30 (2019-12-19) Copyright © Huawei Technologies Co., Ltd. 124

 Loading...


