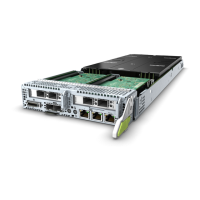
Step 4 Loosen all screws from the rear I/O board. See step (1) in Figure 5-165.
Step 5 Gently remove the rear I/O board in the arrow direction. See step (2) in Figure
5-165.
Figure 5-165 Removing the rear I/O board
Step 6 Place the removed rear I/O board in an ESD bag.
----End
5.11.8 Installing the Rear I/O Board
This topic describes how to install the rear I/O board when the original one has
failed.
Scenarios
Install the rear I/O board to replace a faulty one.
RH8100 V3 Server
User Guide 5 Removing and Installing Parts of the RH8100 V3
Issue 30 (2019-12-19) Copyright © Huawei Technologies Co., Ltd. 299

 Loading...


