Figure 8-12 Securing the captive screw into the connection hole
Step 5 Install the metal sheet for neighboring RRUs, as shown in Figure 8-13.
Figure 8-13 Installing the metal sheet
(1) Screw
(2) Metal sheet
1. Use an M6 Phillips screwdriver to loosen the screw on the metal sheet farther from the
handle of the second RRU and remove the screw.
2. Use an M6 Phillips screwdriver to loosen the screw on the metal sheet closer to handle of
the second RRU. Then rotate the metal sheet to align the vacant hole in the metal sheet with
a hole on the top of the first RRU.
3. Insert the removed screw into the hole on the top of the first RRU and use an M6 torque
screwdriver to tighten the screw to 5 N·m (44.25 lbf·in.).
----End
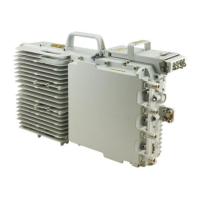
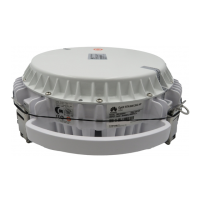
RRU3832&RRU3632
Installation Guide
8 Installing the RRU
Issue 05 (2014-06-30) Huawei Proprietary and Confidential
Copyright © Huawei Technologies Co., Ltd.
59
 Loading...