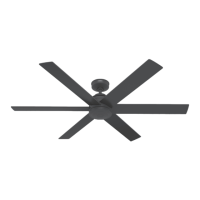
7
There are ve pairs of holes in the fan. Lift the blade
iron into position. Align the grommeted holes in the
blade iron with the holes on the fan. It does not matter
which hole you choose. Install the blade iron screws
found in the hardware bag to secure the blade iron to
the fan.
Installing the Blade Iron
x2
Lift the canopy into place so that
the screw holes are aligned.
Insert the two canopy screws
found in the hardware bag.
F
i
t
t
h
e
c
a
n
o
p
y
i
n
p
l
a
c
e
a
s
s
h
o
w
n
.
bag
Canopy Screw
Ceiling Bracket Downrod Hanging Fan Wiring Canopy Blades Light Remote Troubleshooting
x5
Blade Iron Screw
If screw holes do not align
properly then rotate the canopy
180 degrees. Hanger ball shape
must match canopy opening for
correct canopy installation.
IMPORTANT
NOTE: Make sure blade iron is installed to the right
holes. Installing it incorrectly could result in your fan
not functioning.
bag
 Loading...