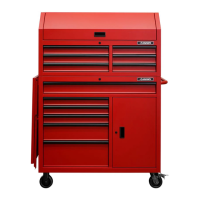
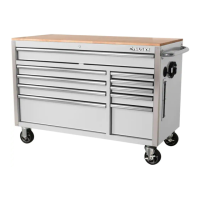
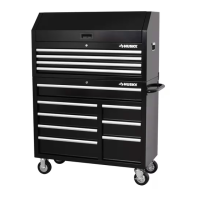
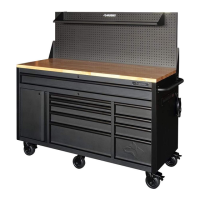
Assembly
Attaching the side handle
NOTE: The holes in the cabinet are tapped and do not
require nuts.
□
□
Attach the side handle (F) to the cabinet using four bolts
(BB).
Tighten all bolts with the 10 mm wrench (CC).
□
6
1
2
6
CC
Do not over tighten the bolts to avoid damage to the finish.
F
BB
Installing the cord brackets
□
Attach the cord bracket (D) to the cabinet using two bolts
(AA) per bracket.
3
NOTE: The holes in the cabinet are tapped and do not
require nuts.
□
Installing the pegboard brackets
□
Attach the pegboard bracket (P) to the cabinet (B) and
pegboard (Q) using four bolts (BB) per bracket.
NOTE: The holes in the cabinet are tapped and do not
require nuts.
□
D
AA
□
Tighten all bolts securely.
□
Tighten all bolts securely.
BB
Q
B
P
4
Installing the pegboard shelf brackets
: The holes in the cabinet are tapped and do not
Attach the pegboard shelf bracket (S) to the pegboard (Q)
using two bolts (AA) per bracket.
□
Tighten all bolts securely.
require nuts.
NOTE
□
□
Place the shelf (R) on the bracket safety.
□
R
Q
S
AA
 Loading...