REV J 4-6 604856
Refer to the Mower Blade Replacement section for blade
removal and installation.
Check the mower blades daily, they are the key to power
efficiency and well groomed turf. Keep the blades sharp. A
dull blade will tear rather than cut the grass, leaving a brown
ragged top on the grass within a few hours. A dull blade also
requires more power from the engine.
Replace any blade which is bent, cracked or broken.
Sharpen the blades following the pattern shown.
Figure 4-11 Touch-up sharpening can be done with a file.
After grinding the blades, check for balance. Blade balanc-
ing can be done by placing the blade on an inverted line
punch or 5/8" bolt. A commercial balancing tool is also avail-
able through most hardware supply stores.
The blade should not lean or tilt. When spinning the blade
slowly it should not wobble. Balance the blade before rein-
stalling.
Lay the blade on a flat surface and check for distortion
(Figure 4-12 & Figure 4-13). Replace any distorted blade.
Mower blades are sharp and can cut. Wrap the
blade(s) or wear gloves and use extra caution
when servicing them.
Always check for blade damage:
• if mower strikes a rock, branch or other for-
eign object during mowing!
• or if an abnormal vibration occurs while oper-
ating.
Make all necessary repairs before resuming opera-
tion.
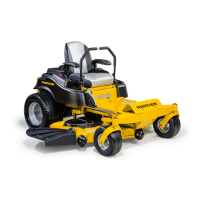
Comparison of Warped and Straight Blades
A. Warped blade — replace
B. Straight blade
C. Cutting plane
Figure 4-12
A. Re-sharpening pattern
B. Original edge
Figure 4-11
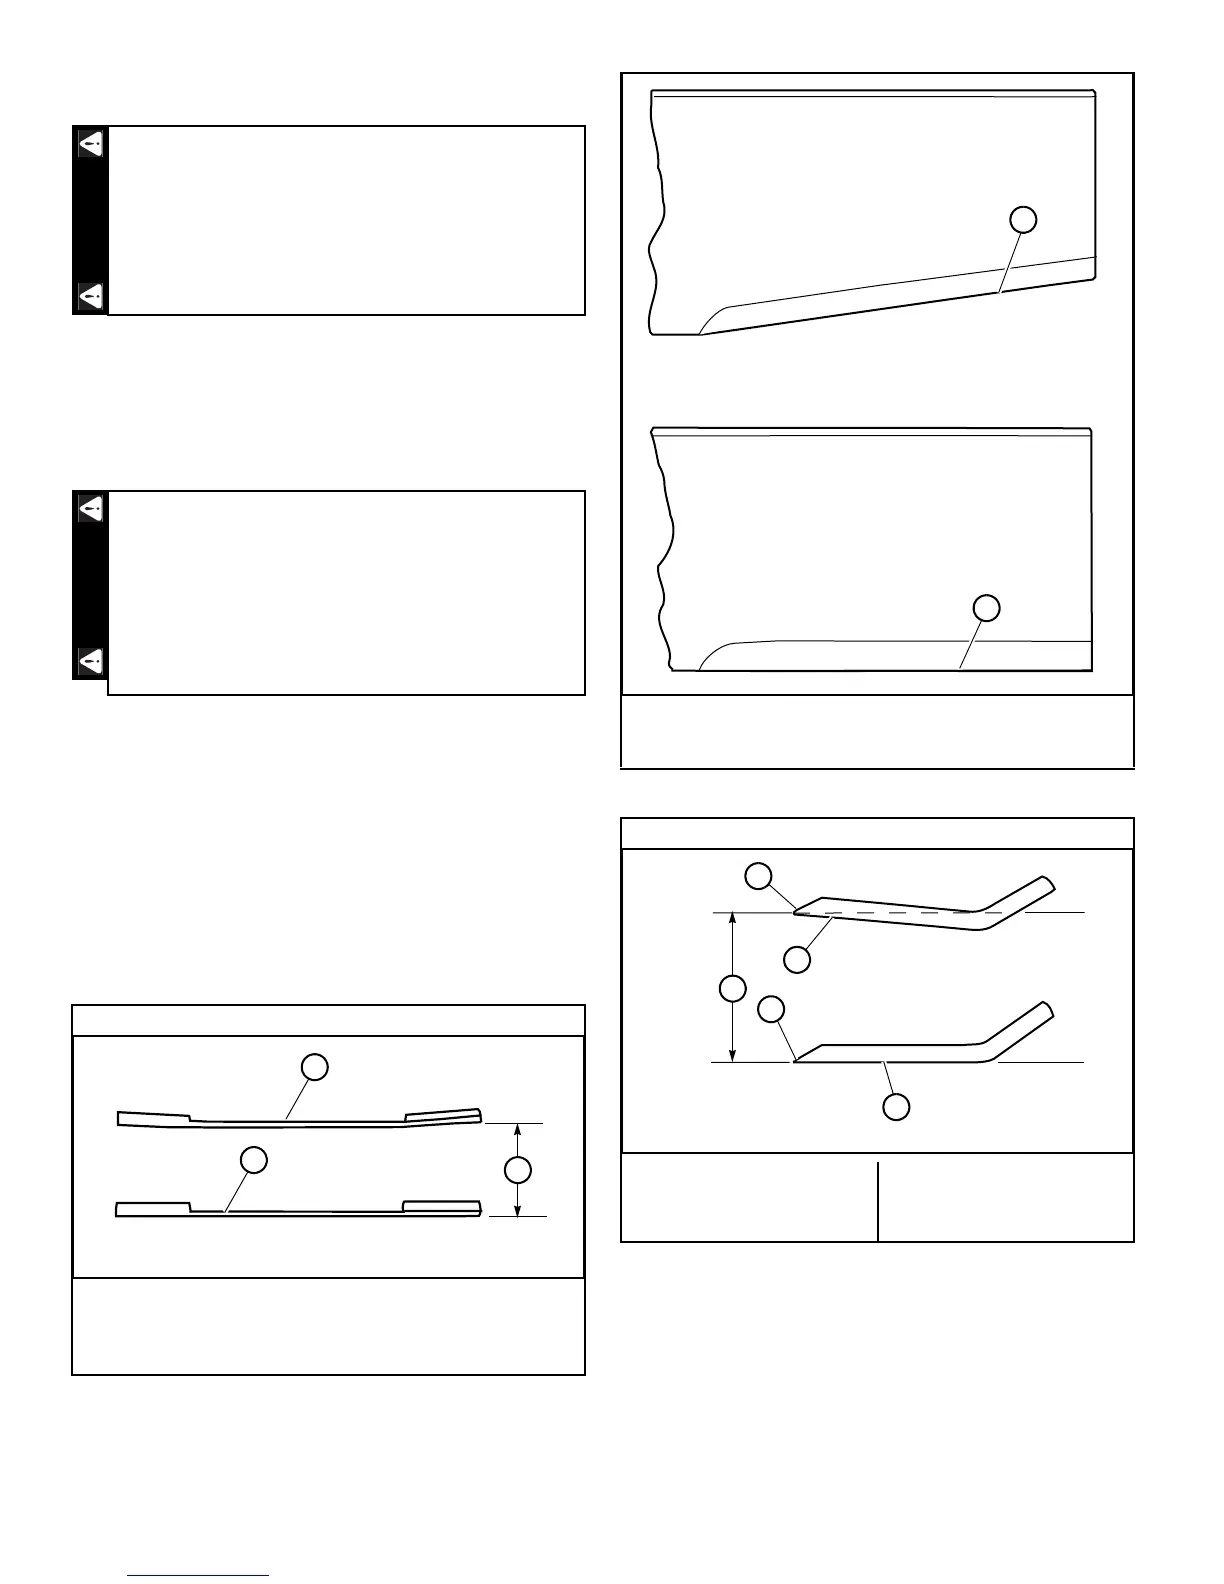
End view of blades, comparing twisted and straightened blades.
A. Twisted blade edge —
replace blade
B. Straight blade edge
C. Cutting plane
D. Cutting edge
Figure 4-13
Do not sharpen to original pattern (below). It
is easier to get a straight cutting edge follow-
ing the re-sharpening pattern shown above.
A
B