Hypnocube 4Cube Instructions v 6.5, December 2013
- 47 -
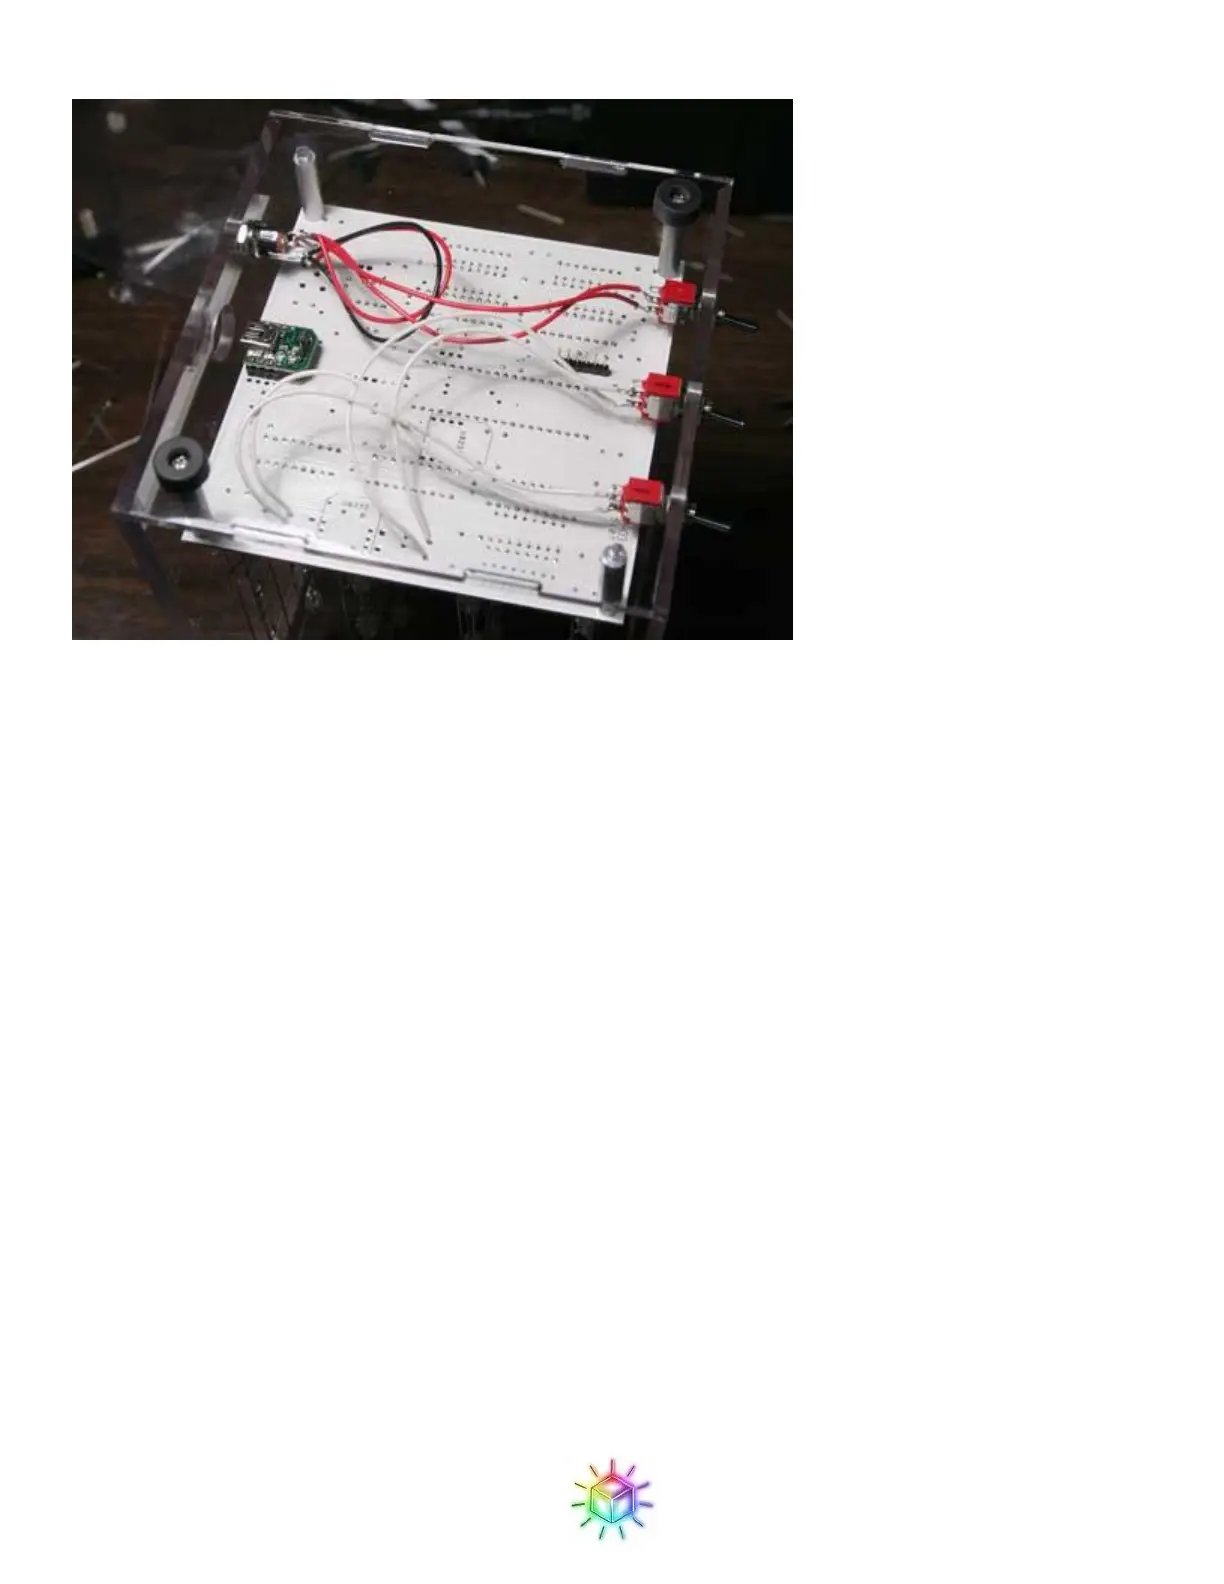
Figure 76: Mounting hardware as seen from below.
Place the top of the case on, and voila! You have constructed a difficult yet beautiful kit!
Be careful when picking it up that you do not grab the top half of the case, and accidentally drop the bottom
half. If you want to attach the top more securely we suggest clear tape, one strip per edge along the bottom,
which works pretty well. We don’t suggest anything too permanent however; if you close the case permanently,
you will not be able to access the lattice for repairs in case anything gets shaken loose.
Congratulations, you have completed the final part of three. We would like to hear how long it took you to do
this part, and other useful details, in order to make this exposition better.
 Loading...