Hypnocube 4Cube Instructions v 6.5, December 2013
- 9 -
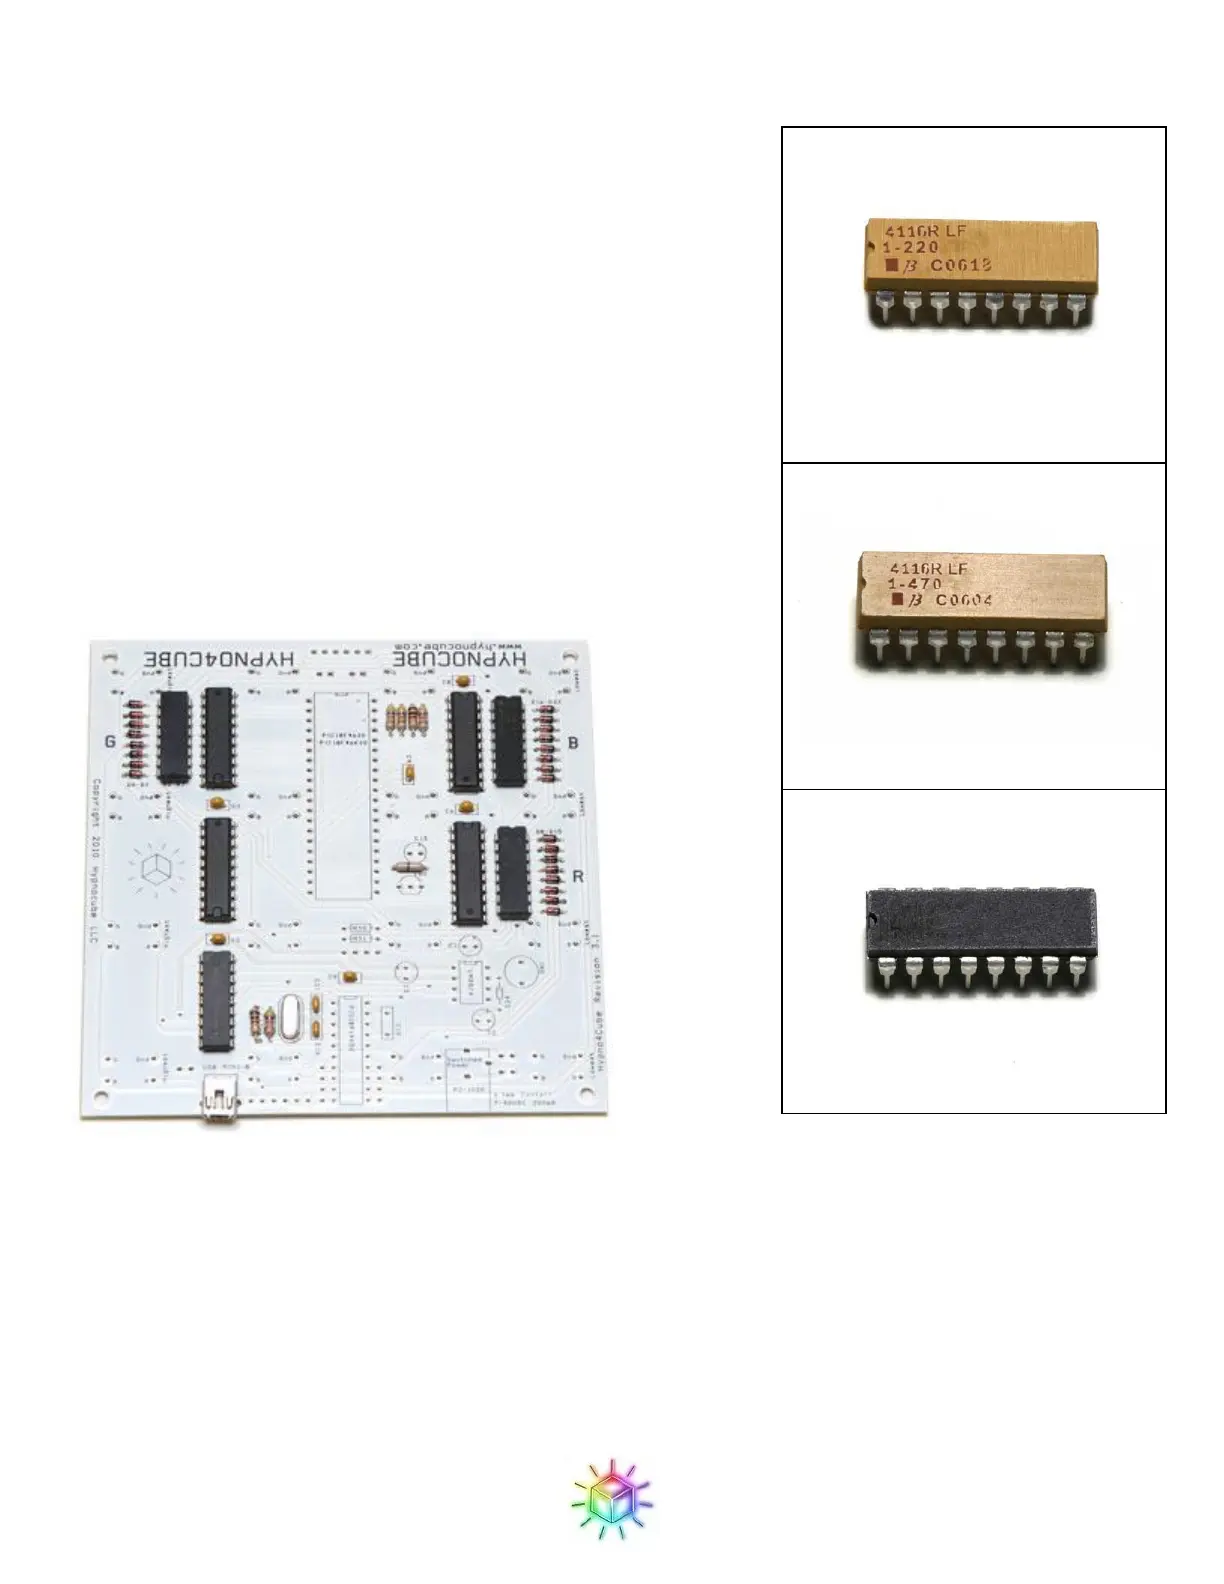
Step 6: Resistor arrays
These are just an array of resistors packaged into a chip which we
decided to use over discrete resistors for convenience. Note that the
footprints on the PCB still show the individual resistors. Since these are
just resistors in a fancy package, the orientation does not matter. Each
package is labeled with their resistance value; make sure you place
each one in the correct spot. R0 – R7 (the green resistors, and marked
‘G’ on the PCB) is 47, R8 – R15 (red, ‘R’) is 68, and R16 – R23
(blue, ‘B’) is 22.
The resistor arrays have been transitioning from a yellow package to
black. The 22 and 47 shown here are yellow, but chances are good
yours will be all black. The markings should be the same however.
The label on the 68 package is impossible to read on the picture here,
but it’s there.
Figure 19: Resistor arrays in place.
Figure 16: 22 resistor array
Figure 17: 47 resistor array
Figure 18: 68 resistor array
 Loading...