26
7.5
7.5.1
7.5.2
8. Set the correct torque.
a) Press and hold the start button (B) on the control.
b) Turn the pressure control valve (A) until the pressure gauge shows the correct pressure.
c) Release the start button (B) on the control.
d) After a few seconds, press and hold the start button (A) on the remote to check the pressure.
e) If the pressure is correct, tighten the wingnut on the control valve (A) of the pump unit.
f) After a few seconds, press and hold the start button (A) on the control to check the pressure.
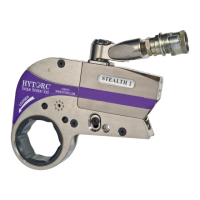
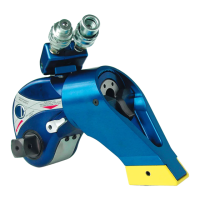
Direction of rotation
Determining the direction of rotation
1. To tighten a bolted connection, place the tool
onto the bolt as shown. Refer to the marking
“TIGHTEN” on the tool.
2. To loosen a bolted connection, place the tool
onto the bolt as shown. Refer to the marking
“LOOSEN” on the tool.
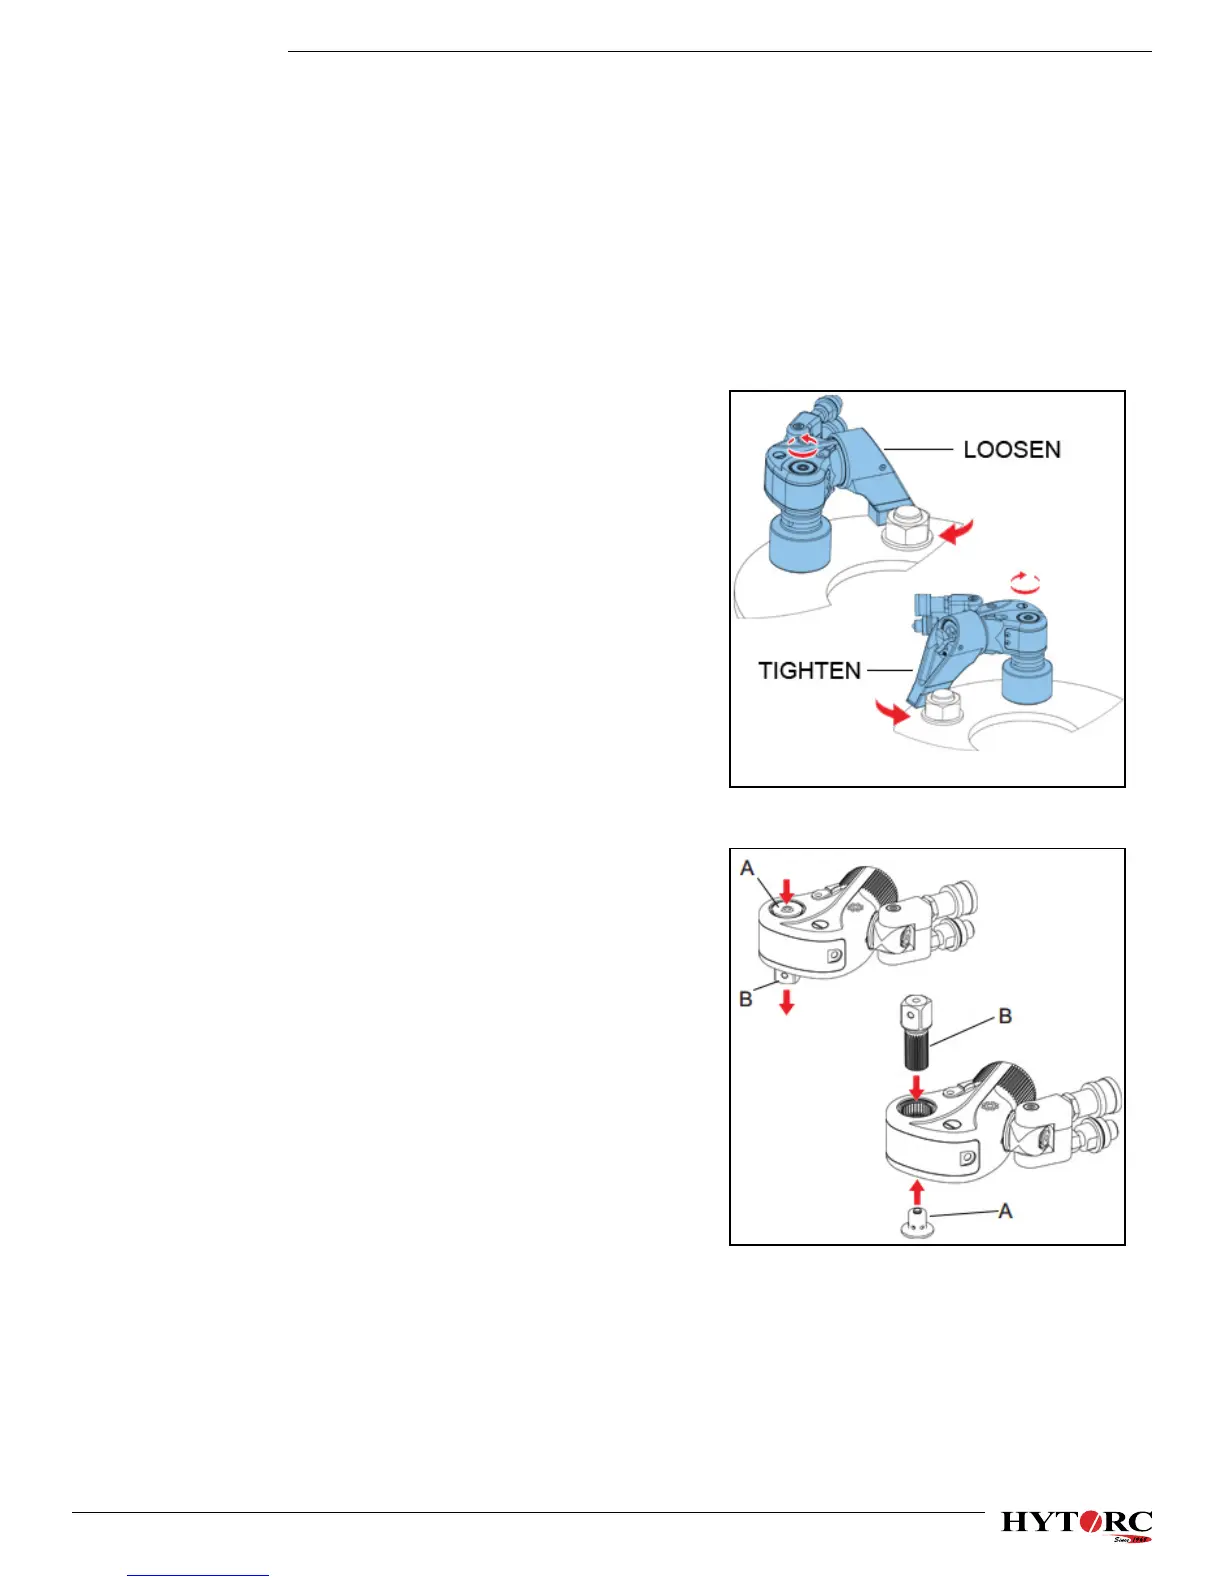
Changing the direction of rotation
1. Press and hold the button on the drive retainer
(A) and pull the square drive (B) to remove it
from the tool.
2. Remove the drive retainer (A).
3. Place the drive retainer (A) on opposite side of
the tool.
4. Press and hold the button on the drive retainer
(A) and insert the square drive (B) into the
opposite side of the tool.
5. Release the button on the drive retainer (A).
Operation (Cont’d.)
 Loading...