3. Connect each end of the power cables to the power supplies on the rear of the system, and connect
the other ends to a power source.
4. The HMC discovers the system and assigns it a default name. The name is the DHCP IP address you
are using, without the decimals. The BMC displays the Pending Authentication state.
5. You are prompted to set the ID and password that your HMC will use to authenticate and mange
the system (the default password is expired). This is the same id and password that you will use to
access the ASMI. To set the system password, select the BMC, then select Actions > Update System
Password.
6. Click Finish.
7. Select System Actions > VMI conguration. Select the network interface, then select Modify.
Note: You can choose either T0 or T1. If you previously connected to T0, congure Eth0. If you
previously connected to T1 on the HMC network, congure Eth1.
8. Select DHCP and click OK.
9. Use the HMC to power on the system.
a. In the navigation area, select Resources > All Systems.
b. In the content pane, select the managed system.
c. In the navigation area, select System Actions > Operations > Power On.
10. Check the rmware level of your managed system.
To check your managed system's rmware level, select Actions > Update Firmware > System
Firmware > View Current Levels.
11. If necessary, update your managed system rmware. Select Actions > Update Firmware > System
Firmware > Update.
Completing the server setup by using an HMC with a static network conguration
Perform these tasks to complete the server setup by using an HMC that uses a static network
conguration.
Procedure
1. Connect an Ethernet cable between the T2 (ETH0) port on the rear of the system to a PC equipped
with an Ethernet port, assuming that T3 (ETH1) is connected to the HMC.
2. If you haven't already done so, connect the power cables to the power supplies. The panel displays
01 N.
3. Log in using the default user ID and password.
Note: The default user ID is admin and the default password is admin.
4. Enter a new password to continue.
5. Press the up arrow key to select 02 and press Enter.
6. Press Enter again. A < (less than symbol) appears next to N. Press the Up Arrow key. The N changes
to an M.
7. Press Enter.
8. Press Enter twice. 02 displays on the control panel.
9. Press the Up Arrow key until it returns 30 and press Enter.
10. Press enter again. The panel now displays 3000. Press Enter.
11. Record the information that displays. You will need this information for a later step.
12. Move to your Ethernet-equipped device. Open your device's network conguration panel and assign
an IP that is the same as what you recorded in the previous step, but subtract 1. For instance, if you
recorded 169.254.176.9, then assign your laptop 169.254.176.8. Use subnet mask 255.255.0.0 on
the device. This will be the BMC's default value.
13. Use your device to verify that you can connect using the address you used in the previous step, and
then attach a web browser to that IP and open ASMI.
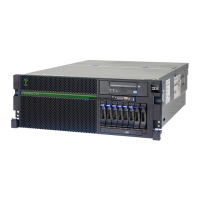
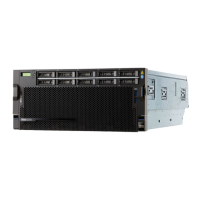
Installing the IBM Power E1050 (9043-MRX)
13