iCandy
iCandy
For Australian market the
shape of the bumper bar will
differ slightly. Operation and
tting is not affected.
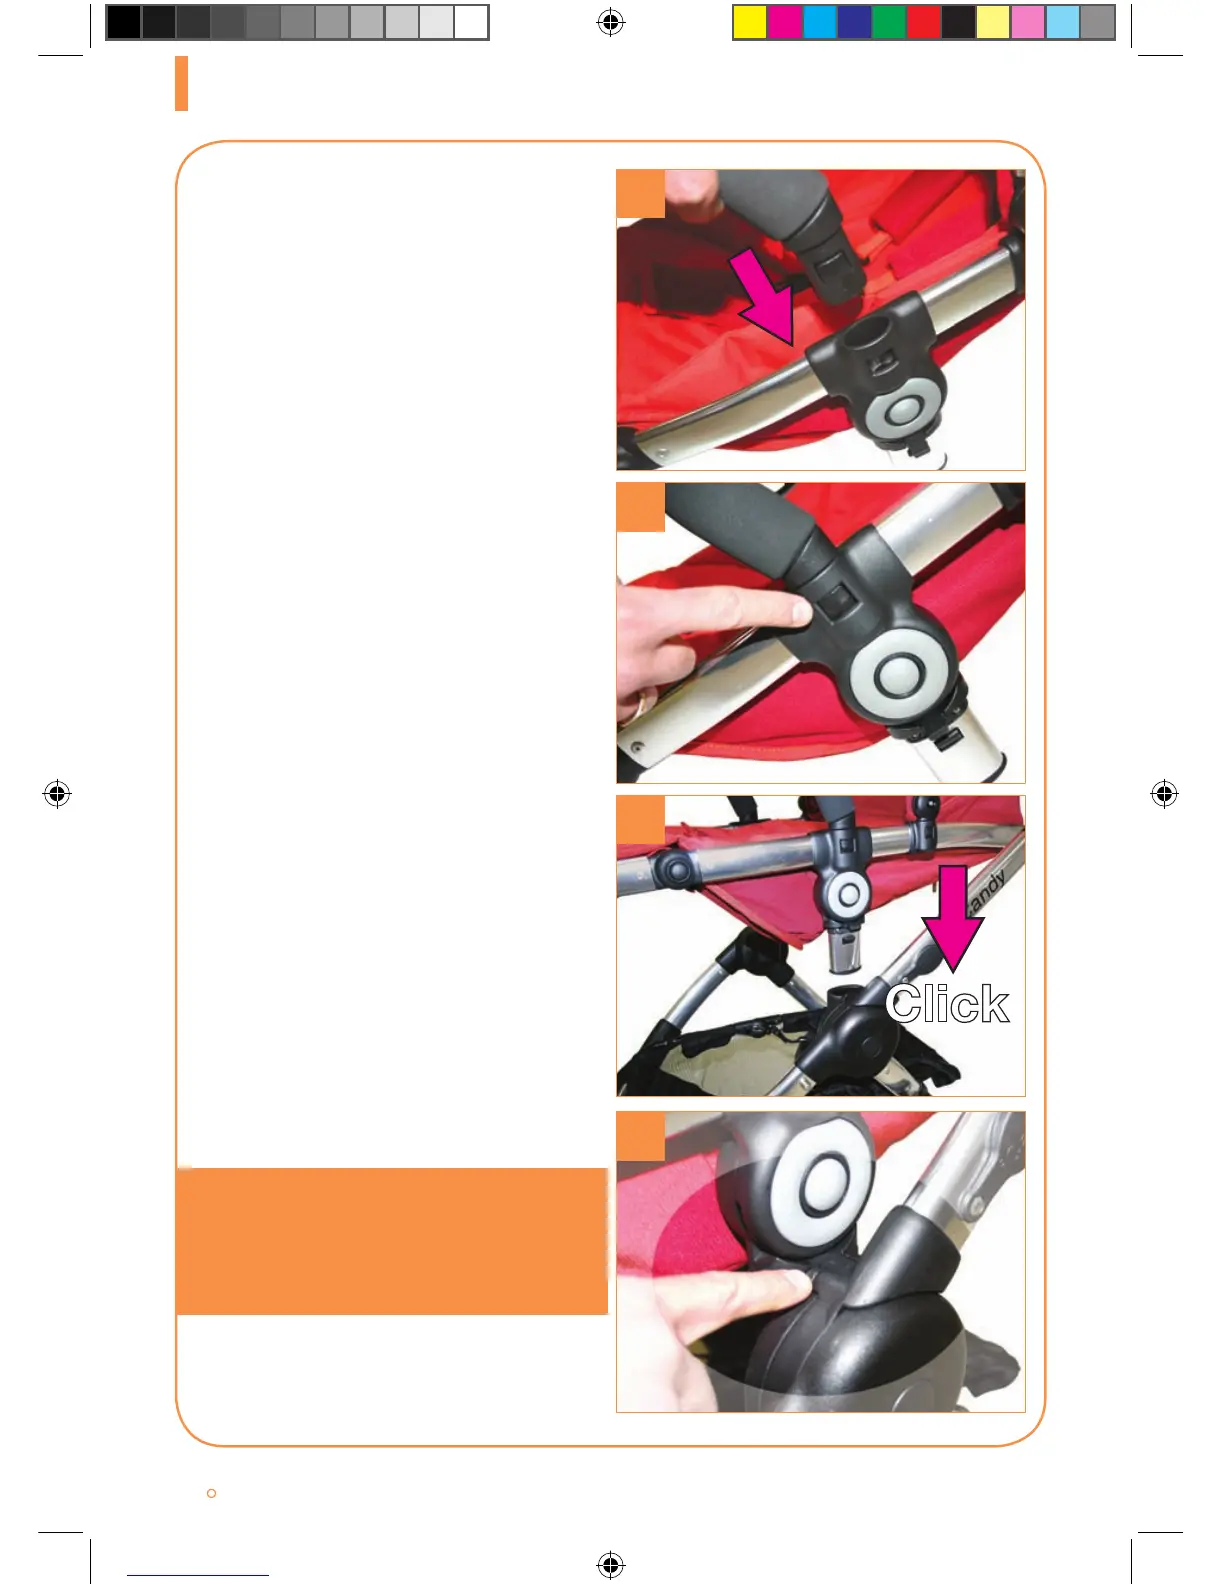
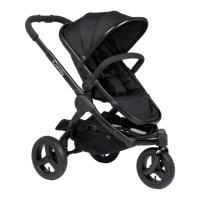
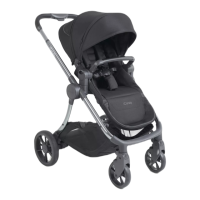
Attach the
Bumper Bar with the inclined
angle towards the foot end of
seat unit. Ensure both locking
tabs fully engage. Check security
by pulling bar upwards.
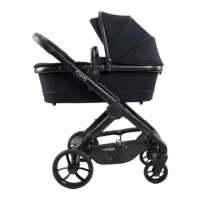
Depress both locking tabs rmly
inwards and lift from sockets.
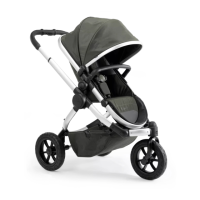
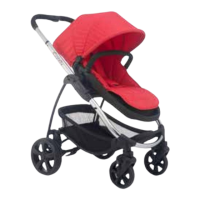
Insert
the seat unit into the main
connectors on the chassis. Push
down on each side of the seat
frame to engage.
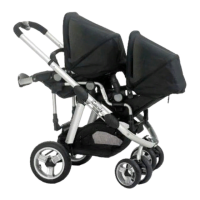
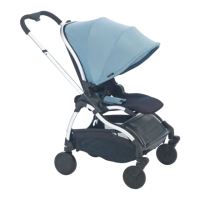
Check that both locking tabs
are ush with the chassis hub
slots before use. The Seat Unit
can be positioned to face you or
face forwards.
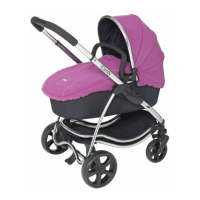
Check that the
bassinette or seat unit
attachment devices are correctly
engaged before use.
9
10
11
12
Peach Inst AUS Print V4.indd 10 21/07/2011 20:24