4
V2 Pro, Platinum Ultimate
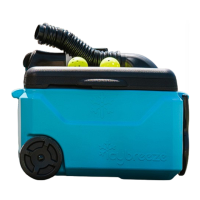
Unpacking Your
IcyBreeze
Remove accessories (batteries, cords) from the
cardboard insert packed on top of the IcyBreeze
unit. Any additional accessories will be packed
inside the cooler or shipped separately
Continuous Power
Options
The 12V automotive continuous power supply
or 110V outlet power supply will let you use your
IcyBreeze immediately. Follow the instructions
below for proper operation.
Charge The Optional
Battery
To charge, firmly plug the battery into the charger
until it clicks into place. The indicator light will
blink red while the battery charges. The battery
is ready to use when the light turns solid green.
If the battery charger stops blinking after 10
seconds, you may have an improper connection.
Charging takes approximately 3 hours but may
vary.
Note: The 12V and 110V power supply cords will
not charge the battery when the battery is
connected to the cooler
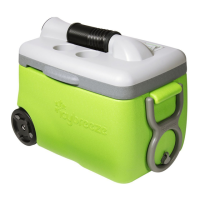
Filling Your
Cooler
Before filling the IcyBreez , make sure the drain
plug is properly fitted and tightened
1. Add cold or cool water to the cooler until the
water level covers the “Minimum Water Level”
marked inside the bottom of the unit.
2. Fill the cooler with ice or choice of IcyBlocks/
frozen bottles, etc. Using the air conditioning
function will speed up the ice melting
process. Do not use dry ice. Be sure not to
overfill the cooler; the lid should close withou
impacting any ice.
V2 Pro Operation
Turn the switch to one of the three fan speeds.
The pump will begin to circulate water
through the cooling system after about 20
seconds. Airflow will continue to becom
cooler for several minutes before reaching
maximum chill.
Setting Up
4
V2 Pro, Platinum, Ultimate
 Loading...