!
Ensure that the plastic sleeves,
that lock the seat and cover
together, are present, Figure 1,
before inserting the hinge pins into
the sleeves.
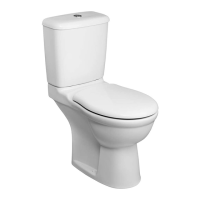
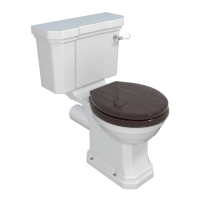
Check the orientation of the
hinges, Wall Hung pans throw
backwards, Figure 2a, Close
Coupled and Back to Wall pans
throw forwards, Figure 2b. This
ensures that the seat lines up
correctly.
Fit rubber centralising washers
into the holes in the pan and
lower the seat and cover, Figure 3,
ensuring that the hinges are
inserted in the holes in the
centralising washers.
Firstly fit a plastic coated
washer, then a steel spring washer
and nut to the thread of each hinge,
Figure 4, before tightening with the
tool provided.
Figure 1
Figure 2a
Figure 2b
Figure 3
Figure 4
Sleeve
Sleeve
Hinge Pin