Page 13
Battery Installation or Replacement:
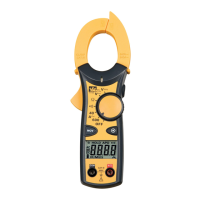
1. The Model 61-480 is powered by two 1.5V, AAA batteries. See Figure 1.1
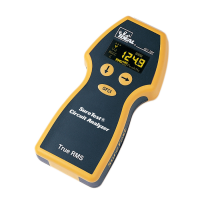
2. The Model 61-481 and 61-482 are powered by one 9V battery. See Figure 1.2
3. Remove the test leads from the front terminals and turn the meter off.
4. Remove the screw from the battery cover and lift to remove.
5. Remove battery and replace.
6. Make sure the battery box leads do not become pinched between the case and
battery cover before replacing the battery cover and screw.
Testing Fuses (FS1 and FS2):
To test the internal fuses of the meter:
1. Turn the rotary selector switch to the Ω position.
2. To test FS1, plug a test lead into VΩHz input terminal, and touch the probe to the A input
terminal. The display should indicate between 0.0 to 0.2Ω.
If display reads higher than 0.2Ω, replace the fuse FS1 (16A/500V)
3. To Test FS2. please remove the case bottom and remove FS2 (1A/500V) by gently
prying one end loose and sliding out of the fuse holder. You may use the meter or a separate
meter to measure across the fuse. The display should indicate between 0.0 to 0.4Ω.
If display reads higher than 0.4Ω, replace the fuse FS2 (1A/500V)
Note: Lead resistance is not factored into this measurement. Make sure you are using good
quality test leads
Fuse Replacement:
Warning
To avoid electrical shock, remove the test leads and any input signals before replacing
the battery or fuses. To prevent damage or injury, INSTALL ONLY quick acting fuses
with the following Amp/Volt current interrupt rating
FS1 Fuse: 16A 500V, fast blow fuse for A input
FS2 Fuse: 1A 500V, fast blow fuse for mA input
Both 10KA breaking capacity @ 440VAC, Size 32 x 6.3 mm
To replace fuses, refer to Figure 2 and do the following:
1. Remove the test leads from the front terminals and turn the meter off.
2. Remove the screw from the battery cover and lift to remove.
3. Remove the screws from the bottom case and the inside of the battery cover and
lift the case bottom until it unsnaps from the case top.
Form number TM61480-1-2 Rev 5 July 2002
 Loading...