Do you have a question about the IKEA GULLIVER AA-240443-2 and is the answer not in the manual?
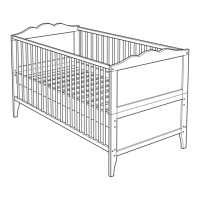
Attaching the first set of components using specific hardware for crib assembly.
Connecting frame parts using specified fasteners and tools.
Continuing the crib frame assembly with additional connectors.
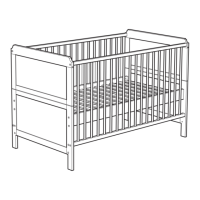
Illustrating the process of adjusting the crib's height during assembly.
Connecting the side panels to the main crib structure.
Securing the assembled crib structure with screws.
Completing the main assembly by attaching final components.
Ensuring the main crib frame is securely fastened.
Aligning structural elements for proper assembly.
Joining different components of the crib.
Tightening screws to secure the crib parts.
Attaching side panels using dowels.
Fixing components using screws and dowels.
Important safety warning for crib usage.
Final tightening of all fasteners for stability.
Performing additional assembly steps with specific parts.
Completing the crib assembly process.
| Brand | IKEA |
|---|---|
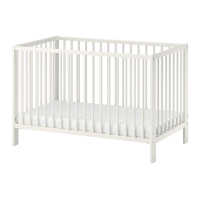
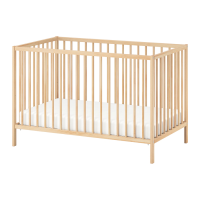
| Model | GULLIVER AA-240443-2 |
| Category | Baby & Toddler Furniture |
| Language | English |