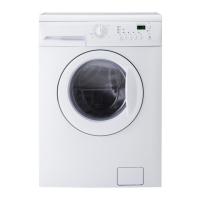
First use
• Ensure that the electrical and water
connections comply with the installa-
tion instructions.
• Remove the polystyrene block and
any material from the drum.
• Before the first wash, run a cotton
cycle at the highest temperature
without any laundry in the machine,
to remove any manufacturing resi-
due from the drum and tub. Pour
1/2 a measure of detergent into the
main wash compartment and start
the machine.
Personalisation
Acoustic signals
The machine is provided with an acoustic
device, which sounds in the following cases:
• at the end of the cycle
• if there is a fault.
By pressing the 7 and 8 buttons simultane-
ously for about 6 seconds, the acoustic sig-
nal is deactivated (except if there is a fault).
By pressing these 2 buttons again, the
acoustic signal is reactivated.
Child safety lock
This device permits you to leave the appli-
ance unattended so you do not need to
worry that children might be injured by or
cause damage to the appliance. This func-
tion remains enabled also when the wash-
ing machine is not working.
There are two different ways to set this op-
tion:
1. Before pressing button 5: it will be im-
possible to start the machine.
2. After pressing button 5: it will be impos-
sible to change any other programme
or option.
To enable or disable this option press simul-
taneously for about 6 seconds buttons 9
and 10 until on the display, the icon
ap-
pears or disappears.
Daily Use - Washing
Open the door
Open the door by carefully pulling the door
handle outwards.
Load the laundry
Place the laundry in
the drum, one item
at a time, shaking
them out as much
as possible.
By pushing the
porthole frame,
close firmly the
door.
Measure out detergent and fabric
softener
1
Pour the detergent
into the main wash
compartment
or
in the appropriate
compartment if the
selected pro-
gramme/option it
requires (see more
details in "Deter-
gent dispenser
drawer").
To pour the right
quantity of the de-
tergent, see more
ENGLISH 12

 Loading...