Do you have a question about the IKEA STALL and is the answer not in the manual?
Essential guide on securing the cabinet to walls, emphasizing correct fixings for different wall types.
Key visual instructions to avoid common assembly errors and ensure proper construction.
Detailed list of all included parts and hardware, with item numbers and quantities for easy identification.
Initial assembly of the cabinet's base and primary frame structure using dowels and screws.
Continuing frame assembly by integrating panels and securing them with dowels and fasteners.
Attaching vertical structural elements to the partially assembled cabinet for stability.
Securing the top panel and installing internal shelf support fittings.
Installing drawer runners and attaching base support components for drawer functionality.
Assembling and installing the drawer runner and guide mechanisms into the cabinet.
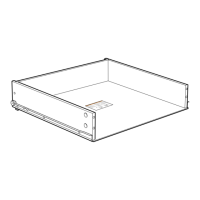
Building the drawer components, attaching fittings, and securing them for proper operation.
Assembling the main frames for the drawers and securing them with hardware.
Installing drawer slides and attaching the drawer handles to complete the drawer units.
Securing drawer mechanisms and performing final checks on the cabinet assembly.
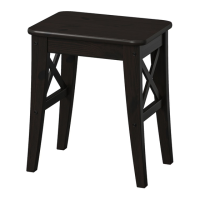
Assembling the main structural components for the shoe compartments.
Attaching and securing the top panels of the shoe compartments.
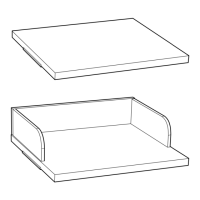
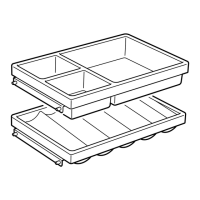
Inserting and locking the shoe trays into the assembled compartments.
Finishing shoe compartments and attaching the cabinet's back panel for stability.
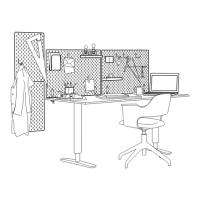
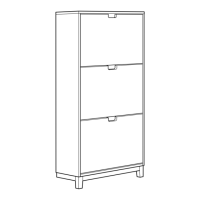
Demonstration of the assembled shoe cabinet's functional operation.
| Brand | IKEA |
|---|---|
| Model | STALL |
| Category | Indoor Furnishing |
| Language | English |