14
supplier do not review, approve or recommend
such products.
SYNTHETIC OILS
Synthetic oils have been available for use in in-
dustrial engines for a relatively long period of
time and may offer advantages in cold and hot
temperatures. However, it is not known if syn-
thetic oils provide operational or economic
bene
fits over conventional petroleum-based oils
in industrial engines. Use of synthetic oils does
not permit the extension of oil change intervals.
CHECKING/FILLING ENGINE OIL LEVEL
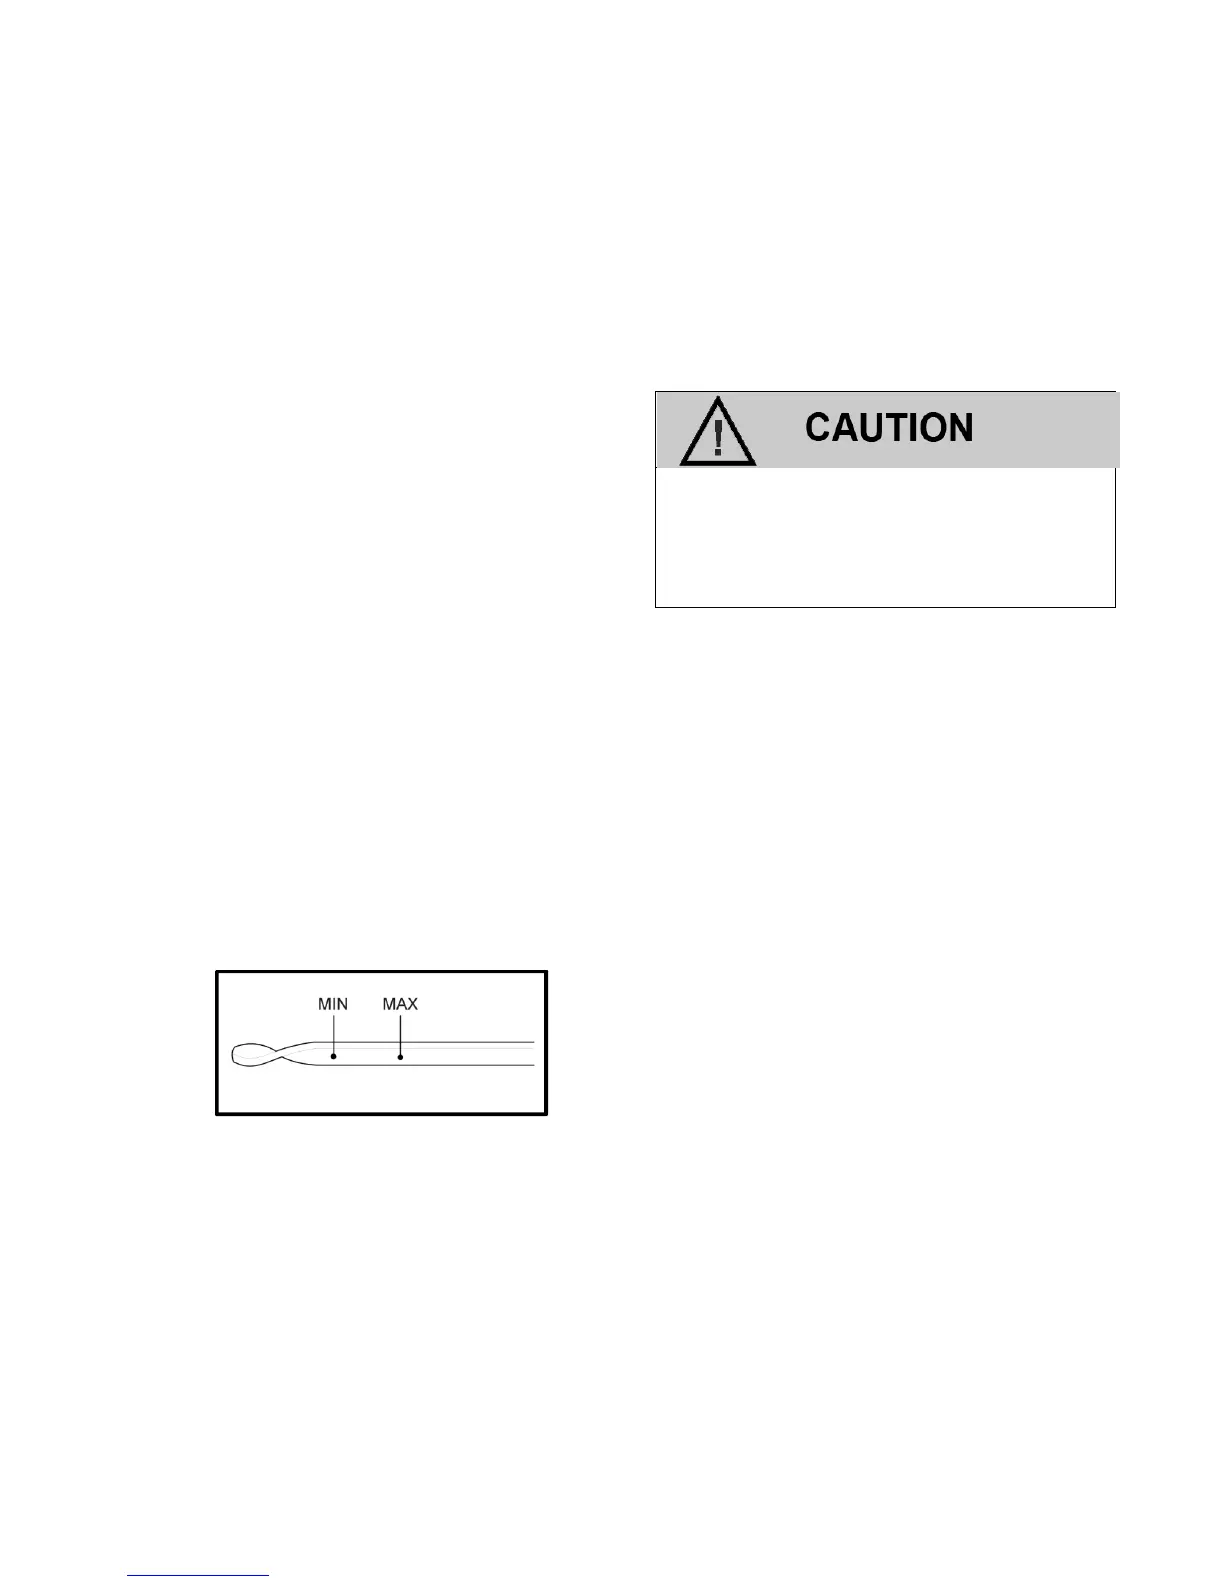
IMPORTANT:
Care must be taken when checking engine oil lev-
el. Oil level must be maintained between the
“ADD” mark and the “FULL” mark on the dipstick.
To ensure that you are not getting a false reading,
make sure the following steps are taken before
checking the oil level.
1. Stop engine.
2. Allow approximately five minutes for the oil to
drain back into the oil pan.
3. Remove the dipstick. Wipe with a clean cloth
or paper towel and reinstall. Push the dipstick
all the way into the dipstick tube.
4. Remove the dipstick and note the amount of
oil on the dipstick. The oil level must be be-
tween the “FULL” and “ADD” marks.
Figure 2 Engine Oil Dip tick (Typical)
5. If the oil level is below the “ADD” mark reinstall
the dipstick into the dipstick tube and proceed
to Step 6.
6. Remove the oil
filler cap from the valve cover.
7. Add the required amount of oil to bring the
level up to, but not over, the “FULL” mark on
the dipstick Reinstall the oil
filler cap to the
valve rocker arm cover and wipe any excess
oil clean.
CHANGING THE ENGINE OIL
IMPORTANT:
When changing the oil, always change the oil
filter.
1. Start the engine and run until it reaches nor-
mal operating temperature.
An overfilled crankcase (oil level being too
high) can cause an oil leak, a fluctuation or
drop in oil pressure. When overfilled, the en-
gine crankshafts splash and agitate the oil,
causing it to aerate or foam.
IMPORTANT:
Change oil when engine is warm and the old oil
flows more freely.
2. Stop engine
IMPORTANT:
Engine oil will be hot. Use protective gloves to
prevent burns. Engine oil contains chemicals
which may be harmful to your health. Avoid skin
contact.
3. Remove drain plug and allow the oil to drain.
4. Remove and discard oil
filter and its sealing
ring.
5. Coat sealing ring on the new
filter with clean
engine oil, wipe the sealing surface on the
filter mounting surface to remove any dust, dirt
or debris. Tighten filter securely (follow filter
manufacturer’s instructions). Do not over tigh-
ten.
6. Check sealing ring on drain plug for any dam-
age, replace if necessary, wipe plug with clean
rag, wipe pan sealing surface with clean rag
and re-install plug into the pan. Tighten to
25.3-32.4 ft.lbs (34.3-44.1 Nm).
IMPORTANT:
Always use a new drain plug gasket when chang-
ing the oil.
7. Fill crankcase with oil.
8. Start engine and check for oil leaks.
 Loading...