 Loading...


Do you have a question about the Ingenico iCT250 and is the answer not in the manual?
| Memory | 16 MB RAM, 128 MB Flash |
|---|---|
| Card Readers | Magnetic stripe, Smart card, Contactless |
| Operating System | Telium 2 |
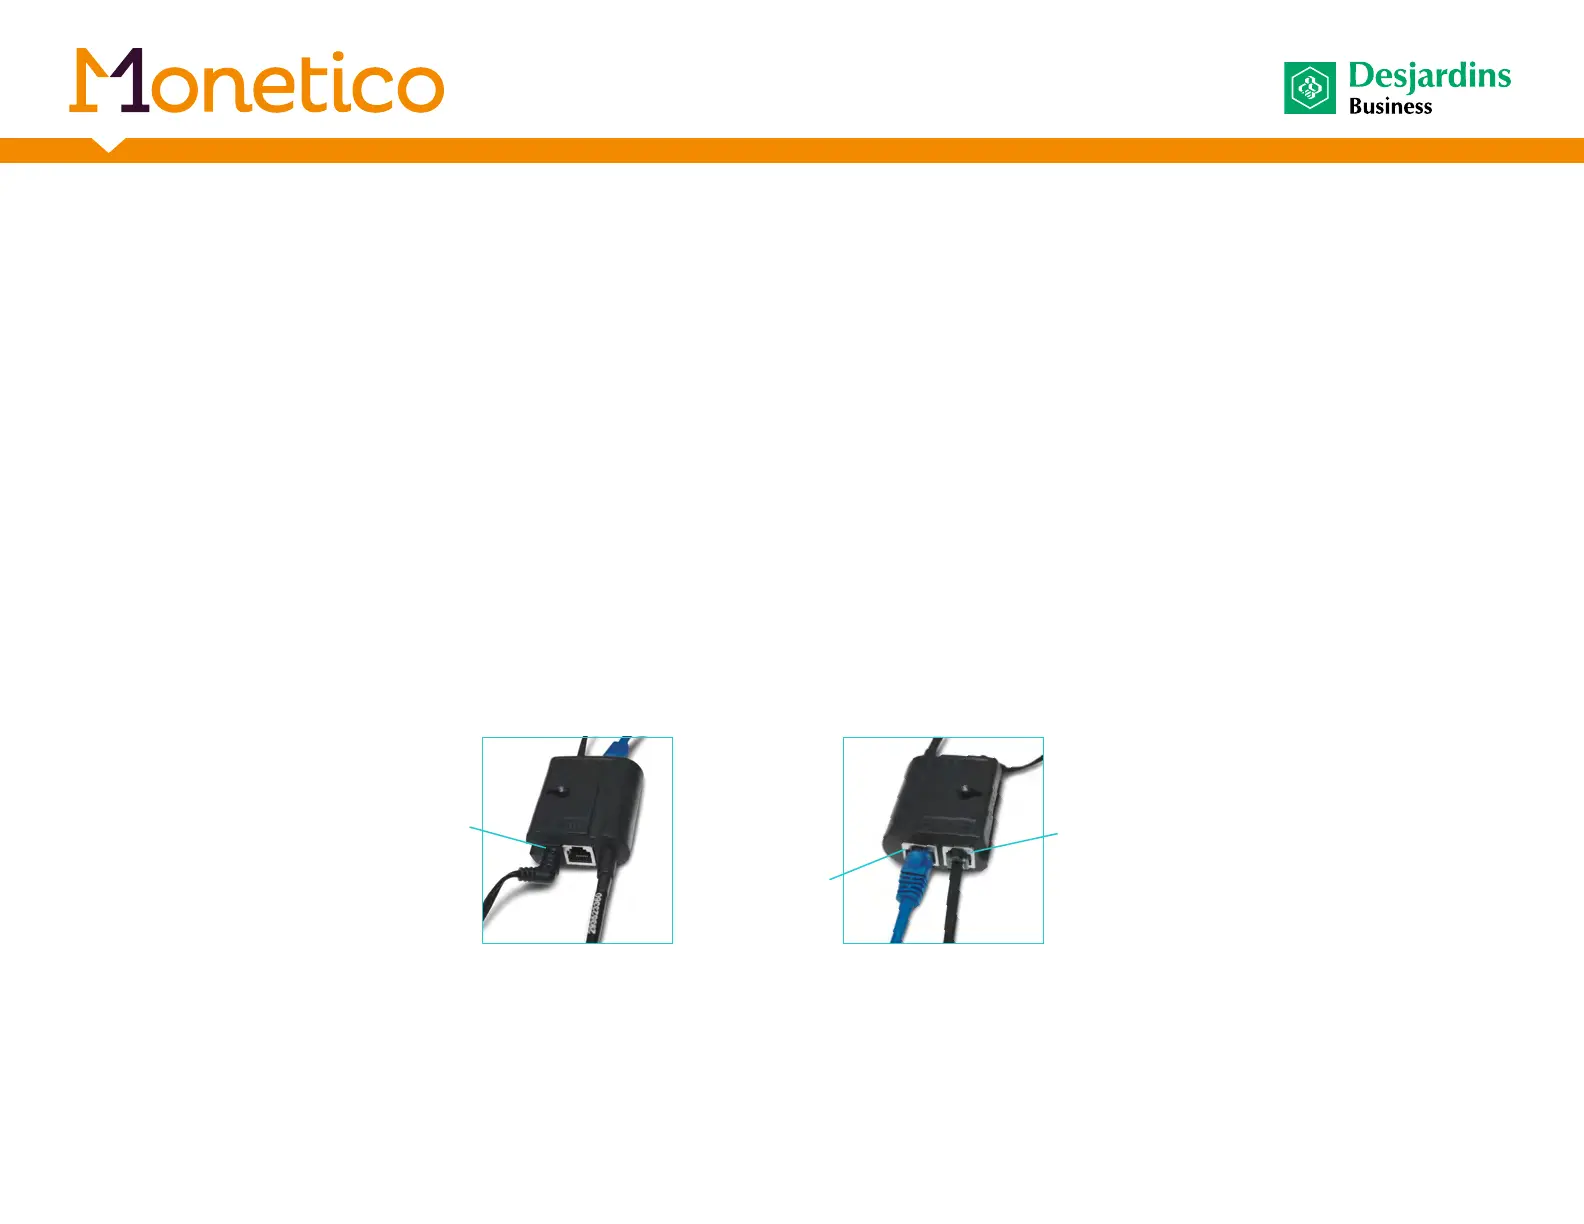
| Connectivity | Ethernet |
| Security | PCI PTS 3.x certified |
| Printer | Integrated thermal printer |
| Supported Cards | Visa, Mastercard, American Express, Discover |
| Display | 128x64 pixel LCD, Backlit |
| Power Supply | External power adapter |