Connecting your
terminal through
broadband.
If you’d like to connect using broadband, you’ll need
to connect your broadband router to your base unit.
First, take the purple Ethernet cable that comes with
your terminal and plug it into your broadband router.
With the other end of the cable, plug this into the
port on your base labelled ‘ETH’ as shown below.
Connecting your
terminal to the base.
Take the terminal and place it onto the base unit.
It should click into place.
You’ll know it’s connected as the terminal will start to
automatically power up.
3a. 3c.
3b.
Ethernet port
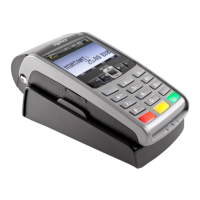
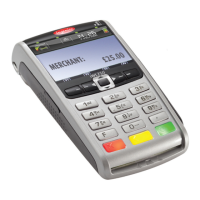
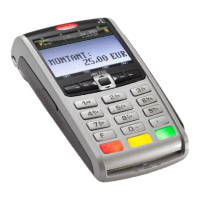
Once completed, the terminal screen will display a READY prompt
and show your merchant number.
To make sure the terminal is fully installed, we recommend doing
a test transaction of 1p. You can find out how to do this in your
Ingenico iWL252 Quick-Start Guide.
iWL252
This screen will show. Press 'Enter' to
continue.
Type in your merchant number and
press ‘Enter’. You can find it in your
welcome email.
Select ‘Local Network’ and press ‘Enter’. This screen will show. Press ‘Enter’
to continue.
4
1 2 3
76
Installing your terminal through
broadband.
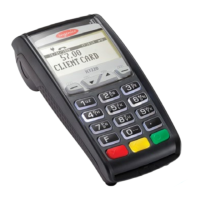
Once the terminal has powered up, it’ll show the first screen shown below.
Follow the steps to install your terminal.
Base Assignment
SUCCESSFUL
Assign to base Connection Method
Telephone (PPP)
Local Network
and then press ENTER
Terminal Installation
Plug in Network Cable
and then press ENTER
Terminal Installation
Key In Merchant No.
(6 digit number)

 Loading...