Quick Start Guide
This guide provides instructions for configuring and connecting your Skyus 160.
Fasten your antennas onto the threaded antenna ports by screwing hand-
tight. At a minimum, be sure to connect antennas to CELL 1 and CELL 2.
Step One: Connect Antennas
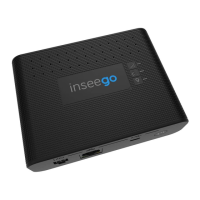
Power the device via 4-pin, ethernet, or USB port and connect to a PC using ethernet or
USB. Open a web browser and open the web UI by visiting my.skyus/ or 192.168.1.1.
Step Three: Connect to Your Device
Ethernet LAN
(power and/or data)
Power Button
USB Device Port
(power and/or data)
4-pin Latching
Connector
(power and GPIO)
Antenna Ports Frequency Range Connector Type
1. CELL 1 690–960 MHz; 1700–2700 MHz SMA
2. GPS* 1570 - 1580 MHz SMA
3. CELL 2 690–960 MHz; 1700–2700 MHz SMA
SKYUS 160
1 2
3
The default password is unique to your gateway. However, it is strongly recommended to
change your passwords before using your gateway.
Admin Password: On the home page, click the ‘Sign In’ drop down and select ‘Change
Password’ to change the admin password.
Wi-Fi Passwords: In the UI, navigate to Wi-Fi > Wi-Fi Settings to change Wi-Fi passwords .
NOTE: It is strongly recommended to change both your Admin and Wi-Fi passwords (ensure
they are each different) and be sure to retain them in a safe place.
Step Three: Change Your Passwords