120
A
SAVE THESE INSTRUCTIONS
(120IO) GRAPHITE GRAY PANEL™ POOL ENGLISH 7.5” X 10.3” PANTONE 295U 04/20/2022
English
Page 10
POOL SETUP
(
continued
)
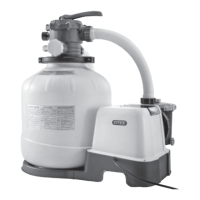
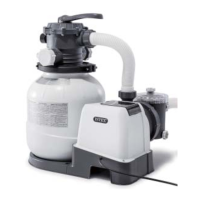
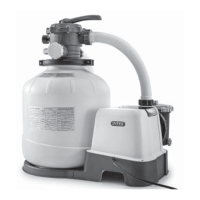
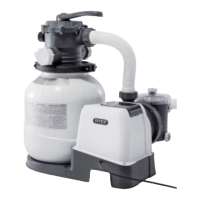
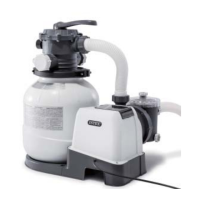
You may have purchased this pool with the Intex Krystal Clear™ filter pump. The pump has its
own separate set of installation instructions. First assemble your pool unit and then set up the
filter pump.
Estimated assembly time 120 minutes. (Note the assembly time is only approximate and
individual assembly experience may vary.)
1. Liner preparation
• Open the carton containing the liner, joints, legs, etc., very carefully as this carton can be used to store
the pool during the winter months or when not in use.
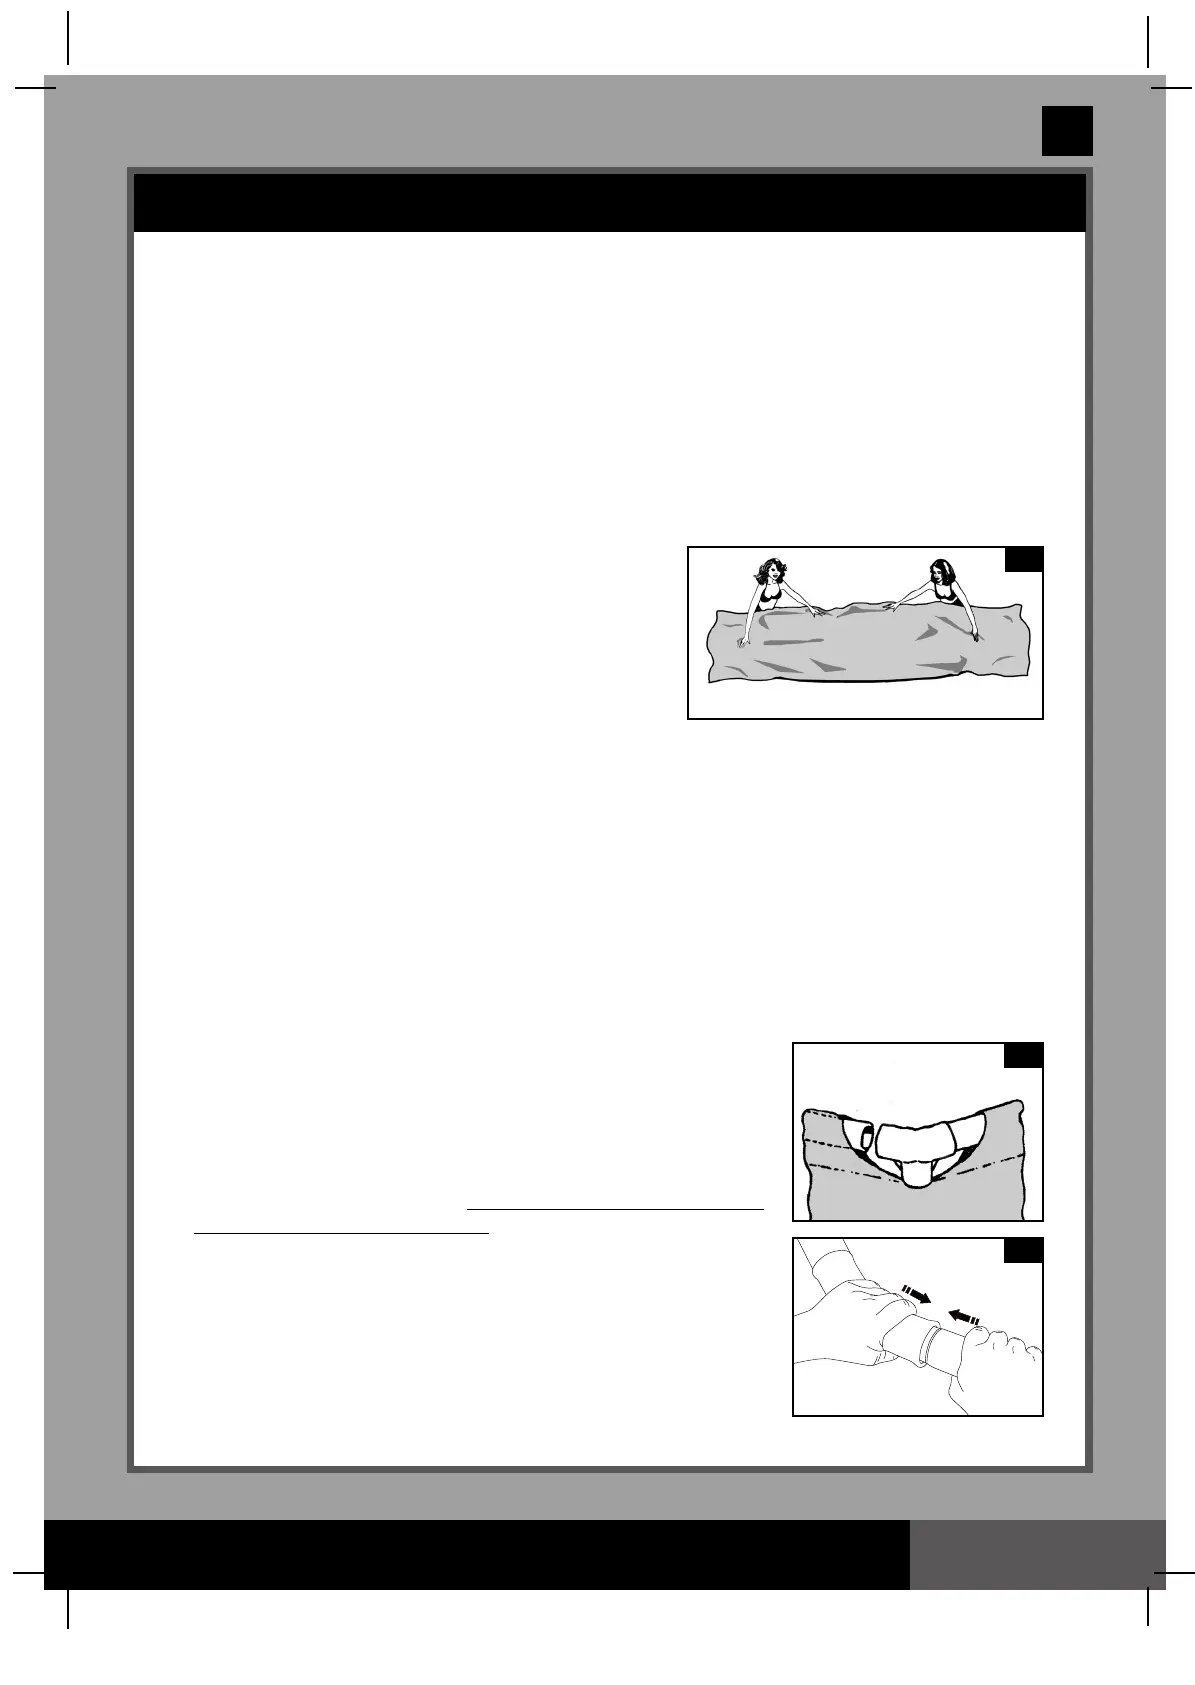
• Take out the ground cloth (8) and spread it over the
cleared area. Then take out the liner (5) and spread it out
over the ground cloth, with the drain valve directed towards
the draining area. Place the drain valve away from the
house. Allow the sun to warm up the liner before inserting
the beams (4) into the sleeve openings.
IMPORTANT: Always set up the pool unit with at least
2 persons. Do not drag the liner across the ground as
this can cause liner damage and pool leakage (see drawing 4).
• During the set-up of the pool liner, point the hose connections or openings in the direction of the electric
power source. The outer edge of the pool should be within reach of the pump’s electrical connection.
2. Horizontal beams assembly
• The frame pool’s legs (2) and beams (4) fall into two groups. The larger diameters are the horizontal
beams that are slid (pushed) into the sleeve openings at the top of the liner. The smaller diameters are
the vertical legs. Both these legs and beams fit into the T-joints (1).
NOTE: Sprinkle some talcum powder over the horizontal beams before sliding them into the pool
liner sleeve. This will make removal of the beams from the liner easier during the disassembly of
the pool.
• Starting at any location, but always working in the same direction,
push the horizontal beam into the sleeve. Once the beam is centered
take one of the T-joints and attach the joint to one end of the beam.
Push the beam firmly into the T-joint. Repeat this procedure in a
circular fashion until all the beams and joints have been connected
(see drawings 5.1 & 5.2).
NOTE: It’s important to start from one location and work in the same
direction until the last attachment. Do not start from multiple locations
as this will make the connections difficult for the last few beams and
joints.
5
4
5.2
4
1
5.1
4
 Loading...