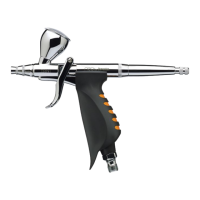
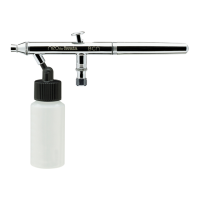
REPLACEMENT PARTS AND ACCESSORIES
Head System (#1)
A matched head system consists of four parts hand matched
together. These components and this matching process create
the Custom Micron’s exacting performance.
Though engineered to last decades the components may
still wear or become damaged and need replacement. If this
happens, we recommend replacing the whole head system
to keep the airbrush’s exquisite performance at peak levels.
However, replacing only the nozzle can be done by
Iwata-Medea’s highly trained technical department.
The set includes: the needle cap (#1A); the nozzle cap (#1B);
the uid nozzle (#1C); and the head system base (#1D).
1. Unscrew the handle (#11).
2. Loosen the needle chucking nut (#10).
3. Gently pull the needle (#9) part way back. It doesn’t need to
be fully pulled out.
4. Simply unscrew the entire head system.
NOTE: Removing the head system the rst time requires a
good grip and some torque. Wrap a rubber band around
the gnarled base of the head system and use a pair of
standard pliers to unscrew it.
• After removing the head system the rst time the plastic cap
functions as a wrench to help remove the head system base
from the airbrush body as needed.
5. Screw the new head system onto the airbrush body until
nger tight.
• Hand tighten head system.
6. Push the needle all the way forward until it seats in place.
7. Tighten the needle chucking nut.
8. Screw the handle onto the airbrush body.
TIP: Keep a spare head system on hand for unforeseen accidents.
18
 Loading...