27
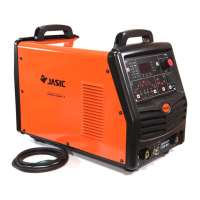
OPERATION - TIG
Before starng any welding acvity ensure that you have suitable eye protecon and
protecve clothing. Also take the necessary steps to protect any persons within the welding
area.
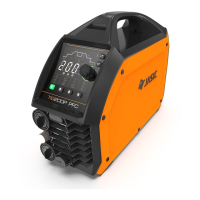
TIG torch trigger operaon steps Indicator for 2T →
Indicator for 4T →
Cycle mode →
Indicator for spot →
2T mode (normal trigger control)
The 2T (↑↓) LED light will illuminate when the power source is in 2T welding mode. In this mode, the
torch trigger must remain pressed (closed) for the welding output to be acve. See example below:
Press and hold the torch trigger to acvate the power source, the gas valve and gas will ow.
Aer the gas pre ow me ends, HF discharge begins and then the welding arc will ignite and then the
current rises up (slope up me) to the welding
current value gradually unl you achieve the
preset welding current.
When the torch switch is released, the current
begins to drop gradually (slope down me)
and when it drops to the minimum current
value, the welding output is cut o and the gas
valve will close, once the post ow me ends,
this is the end of the welding process.
If the torch switch is pressed down during the
current downslope period, the current will rise
up again to the preset welding current value
and the slope out process will only start again once the torch switch to be released.
4T (latch trigger control)
The 4T ↕↕ LED will illuminate when the power source is in 4T welding mode, this trigger mode is mainly
used for long welding runs to assist in reducing operator nger fague. In this mode the user can press
and release the torch trigger and the output will remain acve unl the trigger switch is depressed again
and released.
In 4T mode, the gas valve opens when the
torch switch is pressed down, aer the
pre ow me ends, HF discharge occurs which
ignites the welding arc. Once the welding arc
has successfully ignited the inial current
value is acve and the torch switch can now
be released, the welding current rises up to
the preset welding current value gradually
and you will connue to weld your material.
To nish welding, simply press the torch
switch down again and the current will begin
to gradually drop (slope out me) to the nal current value. When the torch switch is released the current
output is cut o and the gas will connue to ow unl your preset post ow me has elapsed.

 Loading...